
For 12.1" radio manual ac:
For Manual AC, please follow this video to remove your original radio:
https://www.youtube.com/watch?v=enmdY-v-s5s
Please remove both the display and the CD player on the vehicle. Keep the vehicle powered off during installation.
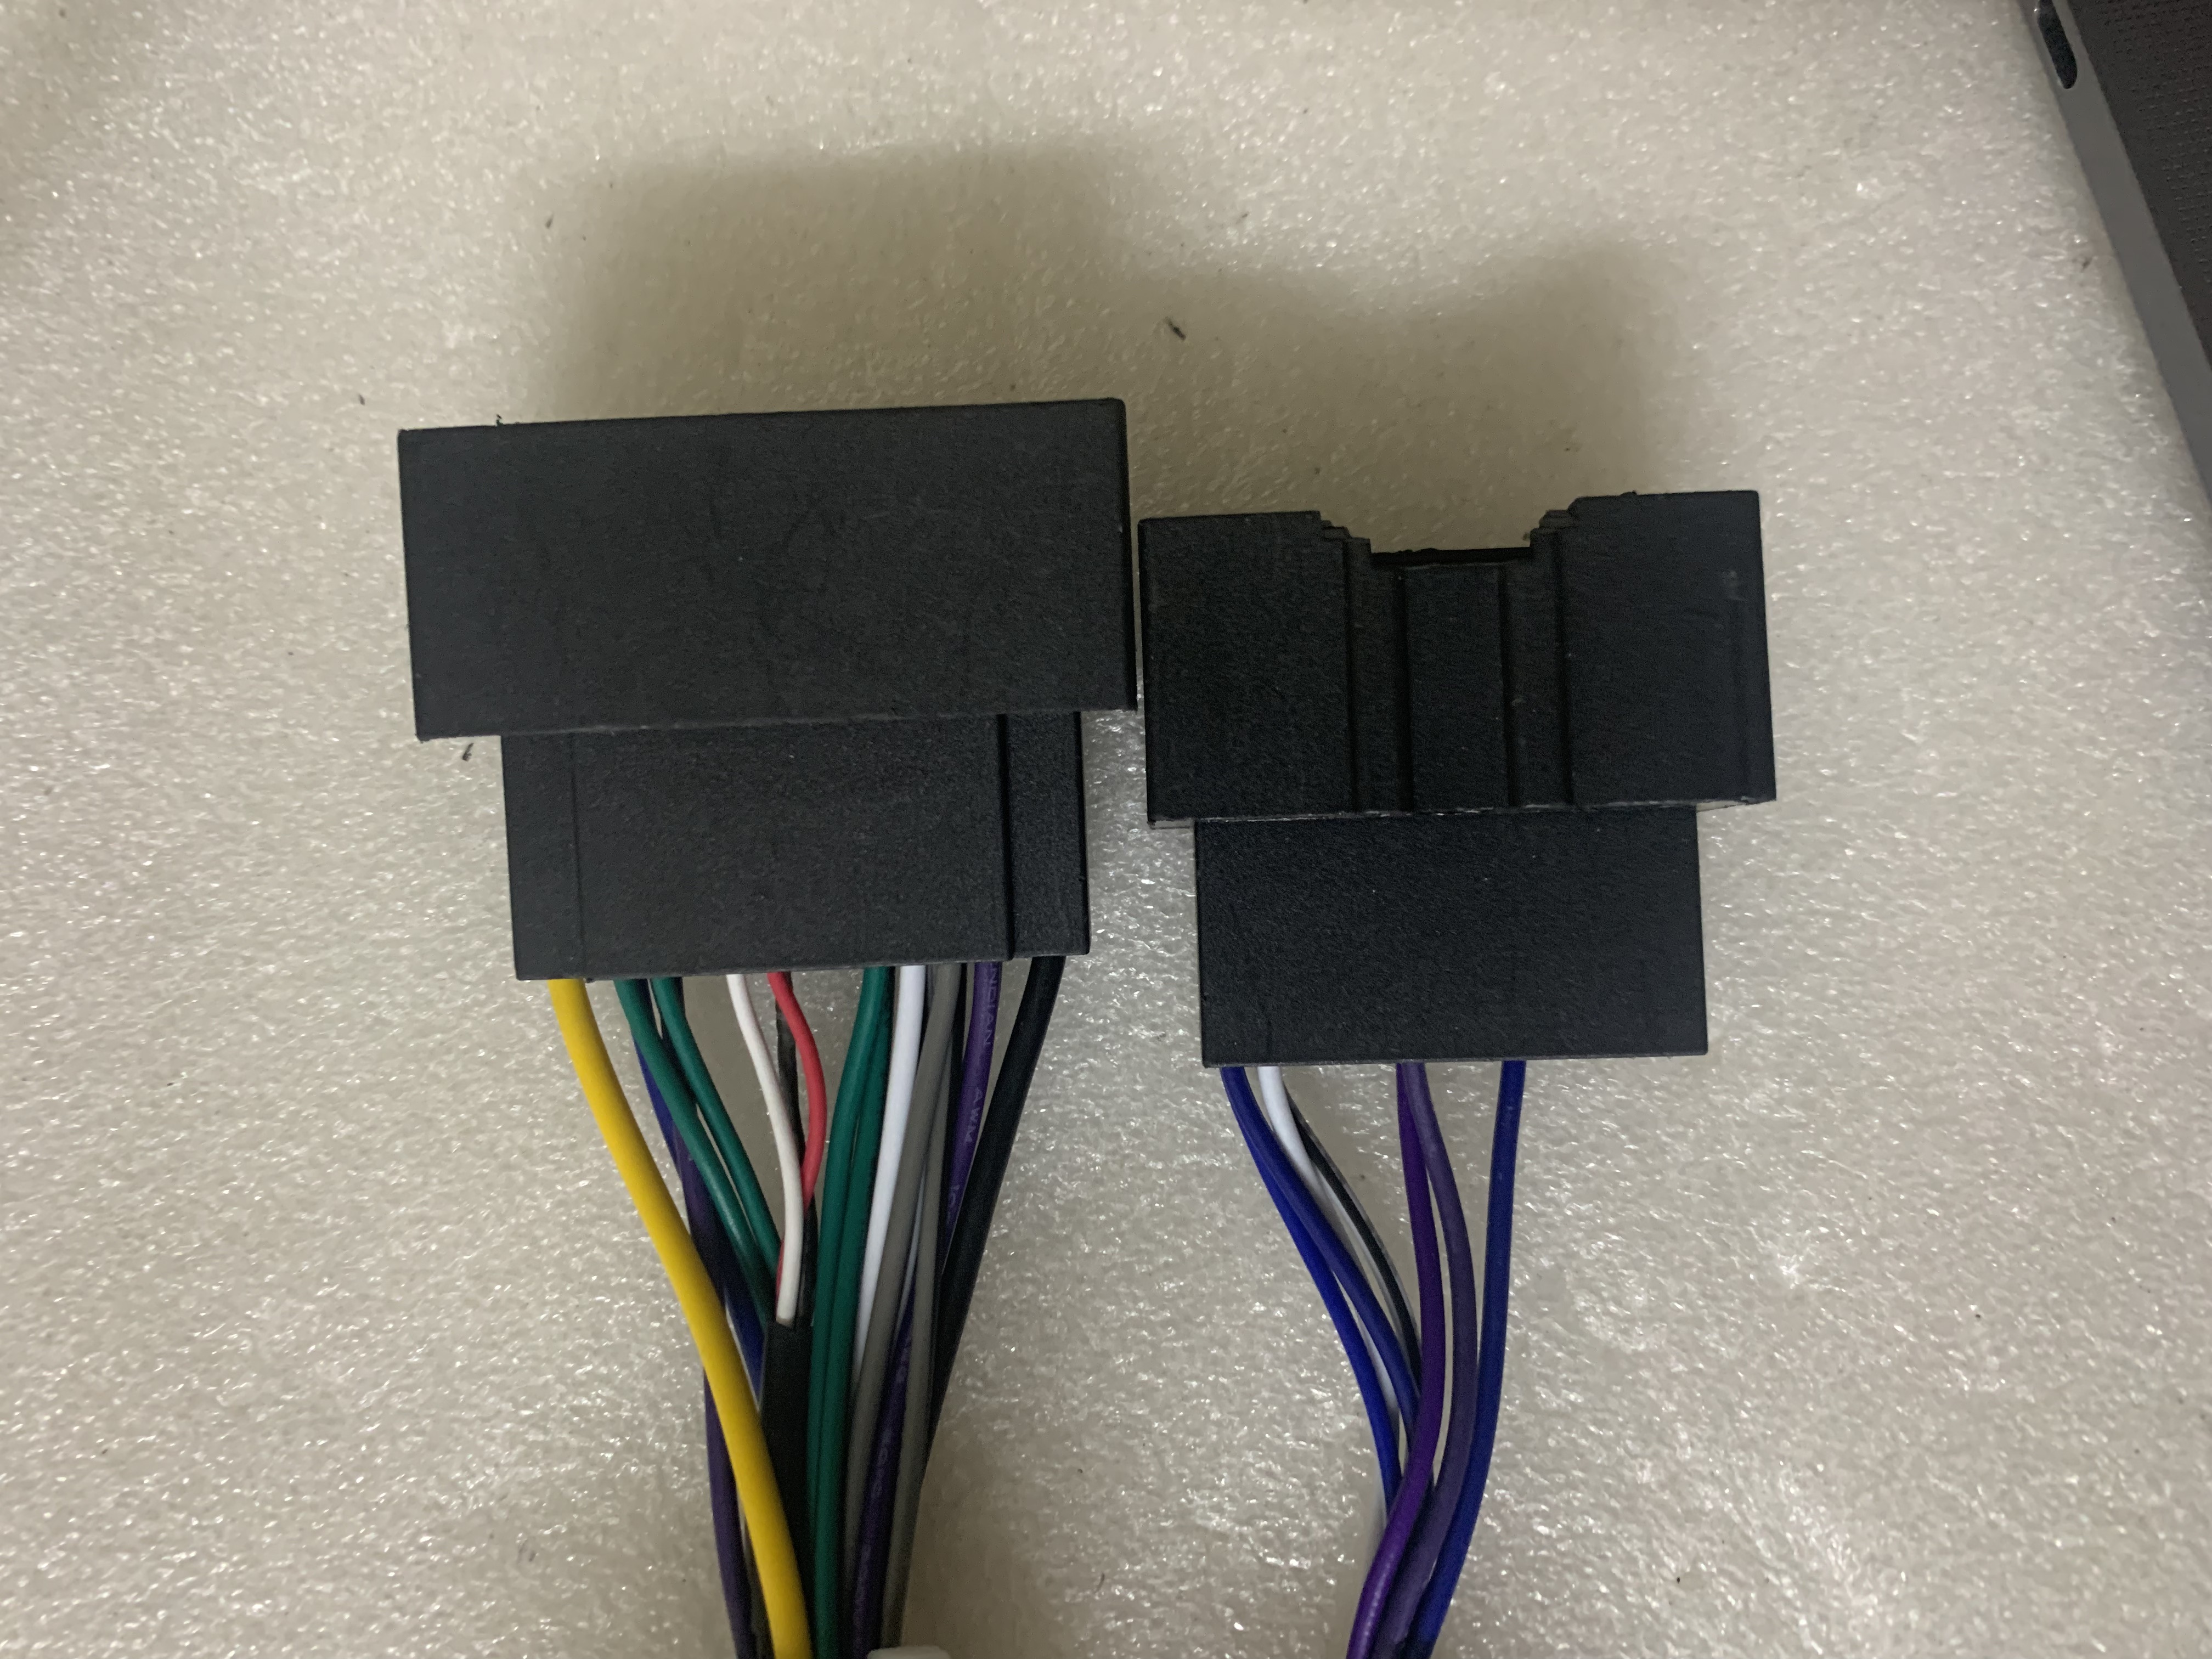
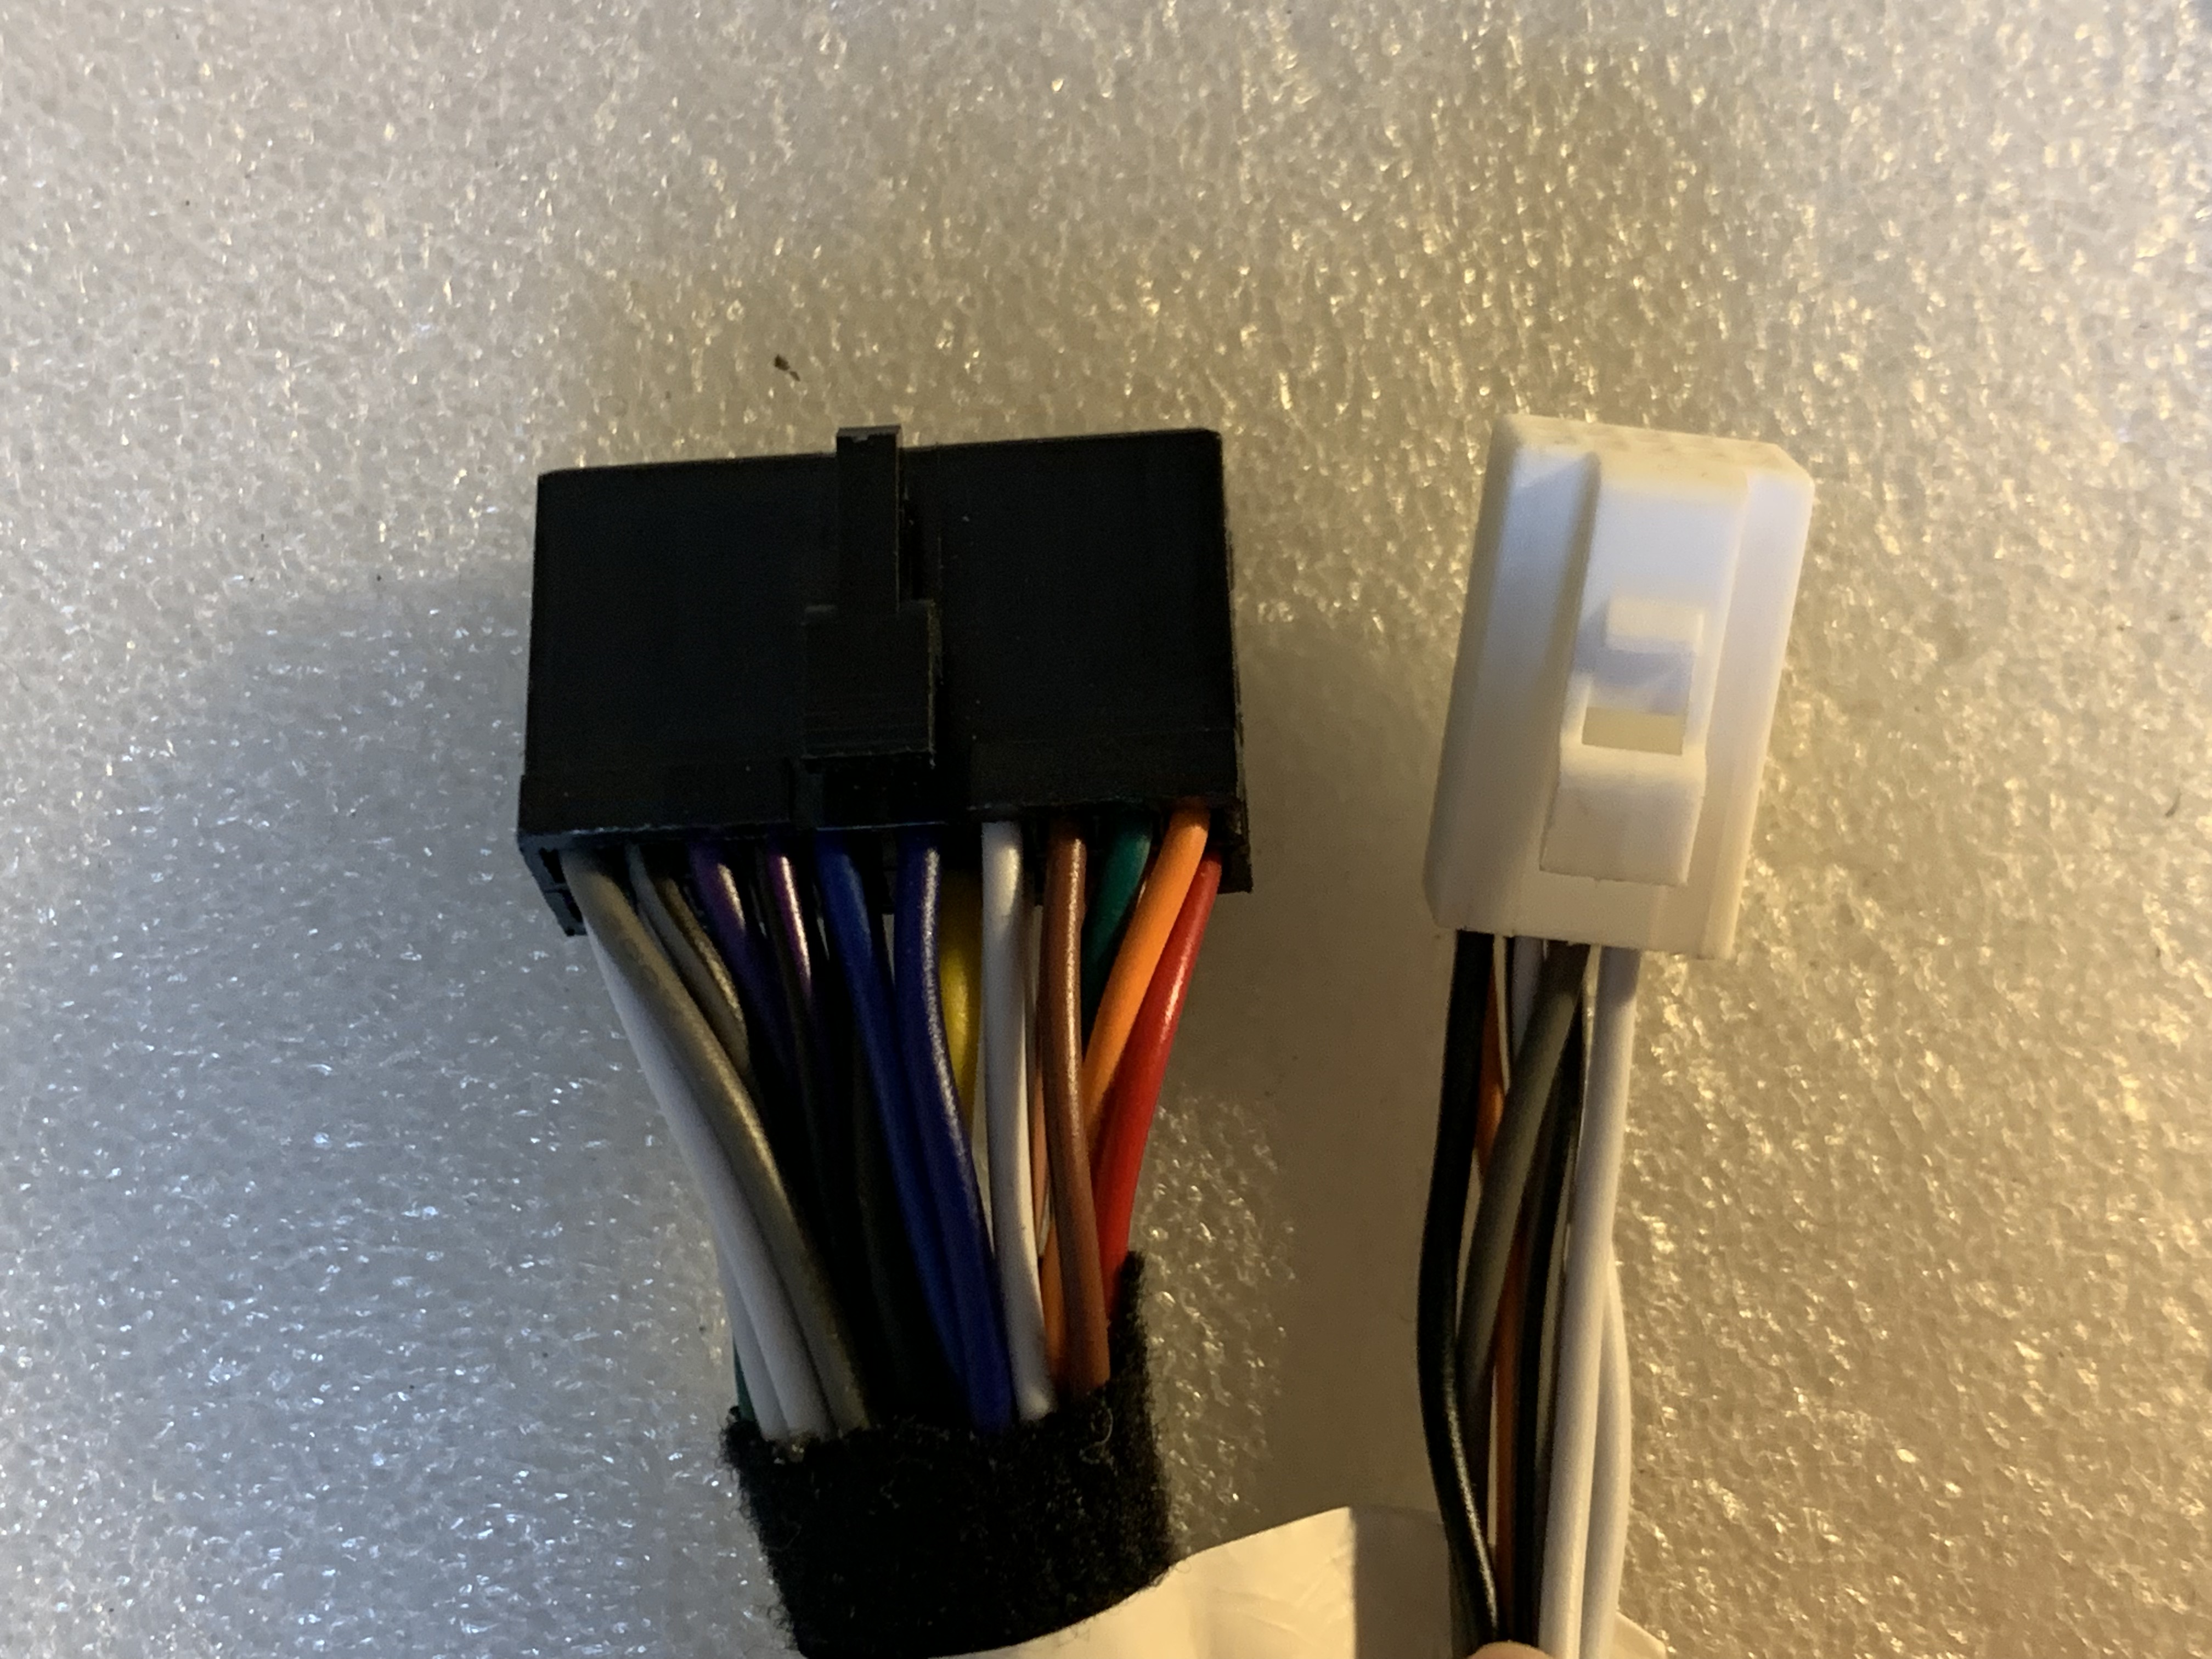
After that, connect the two large black connector on the main harness to the two CD player connectors.
Connect backup camera adapter to the connector behind the original display.
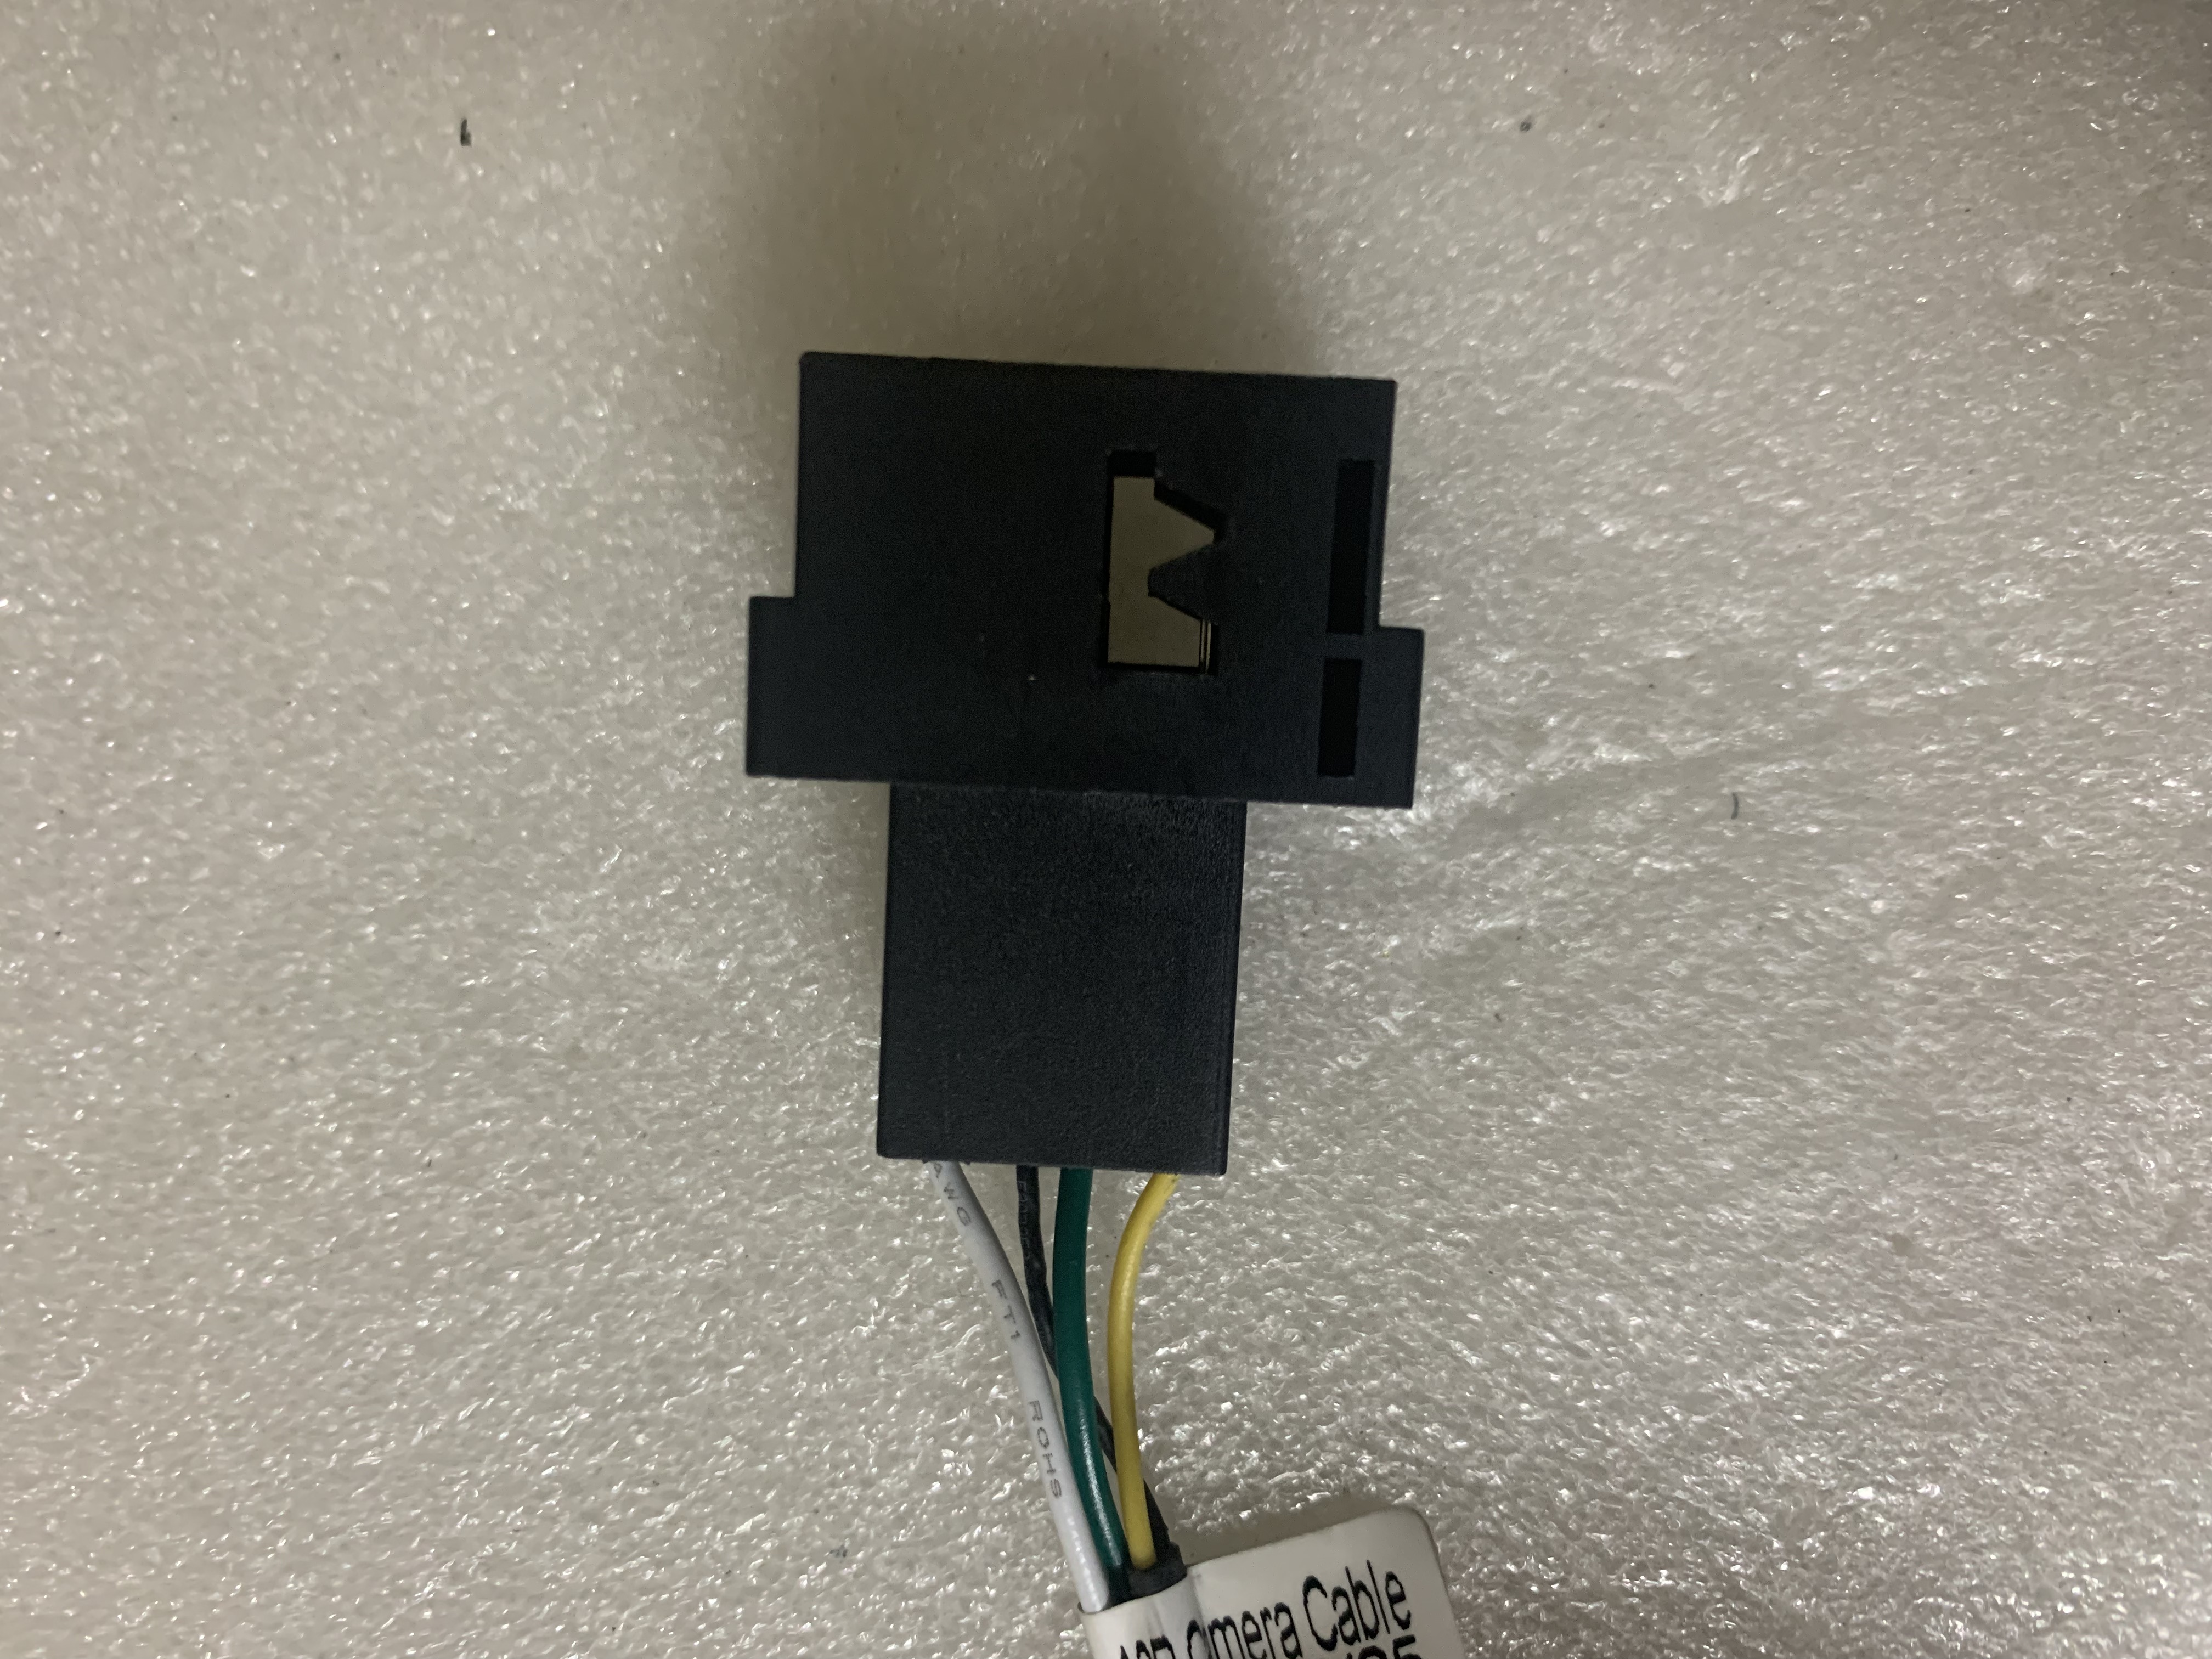
Connect the male RCA on this connector to a yellow female RCA tagged "camera" on the AV out cable. Do not worry about the other cable on this plug as it is not used.
Next we will connect the hazard cable, please locate these two plugs, one black and one grey. You will only need ONE of them. Connect it to the car side radio panel connector.

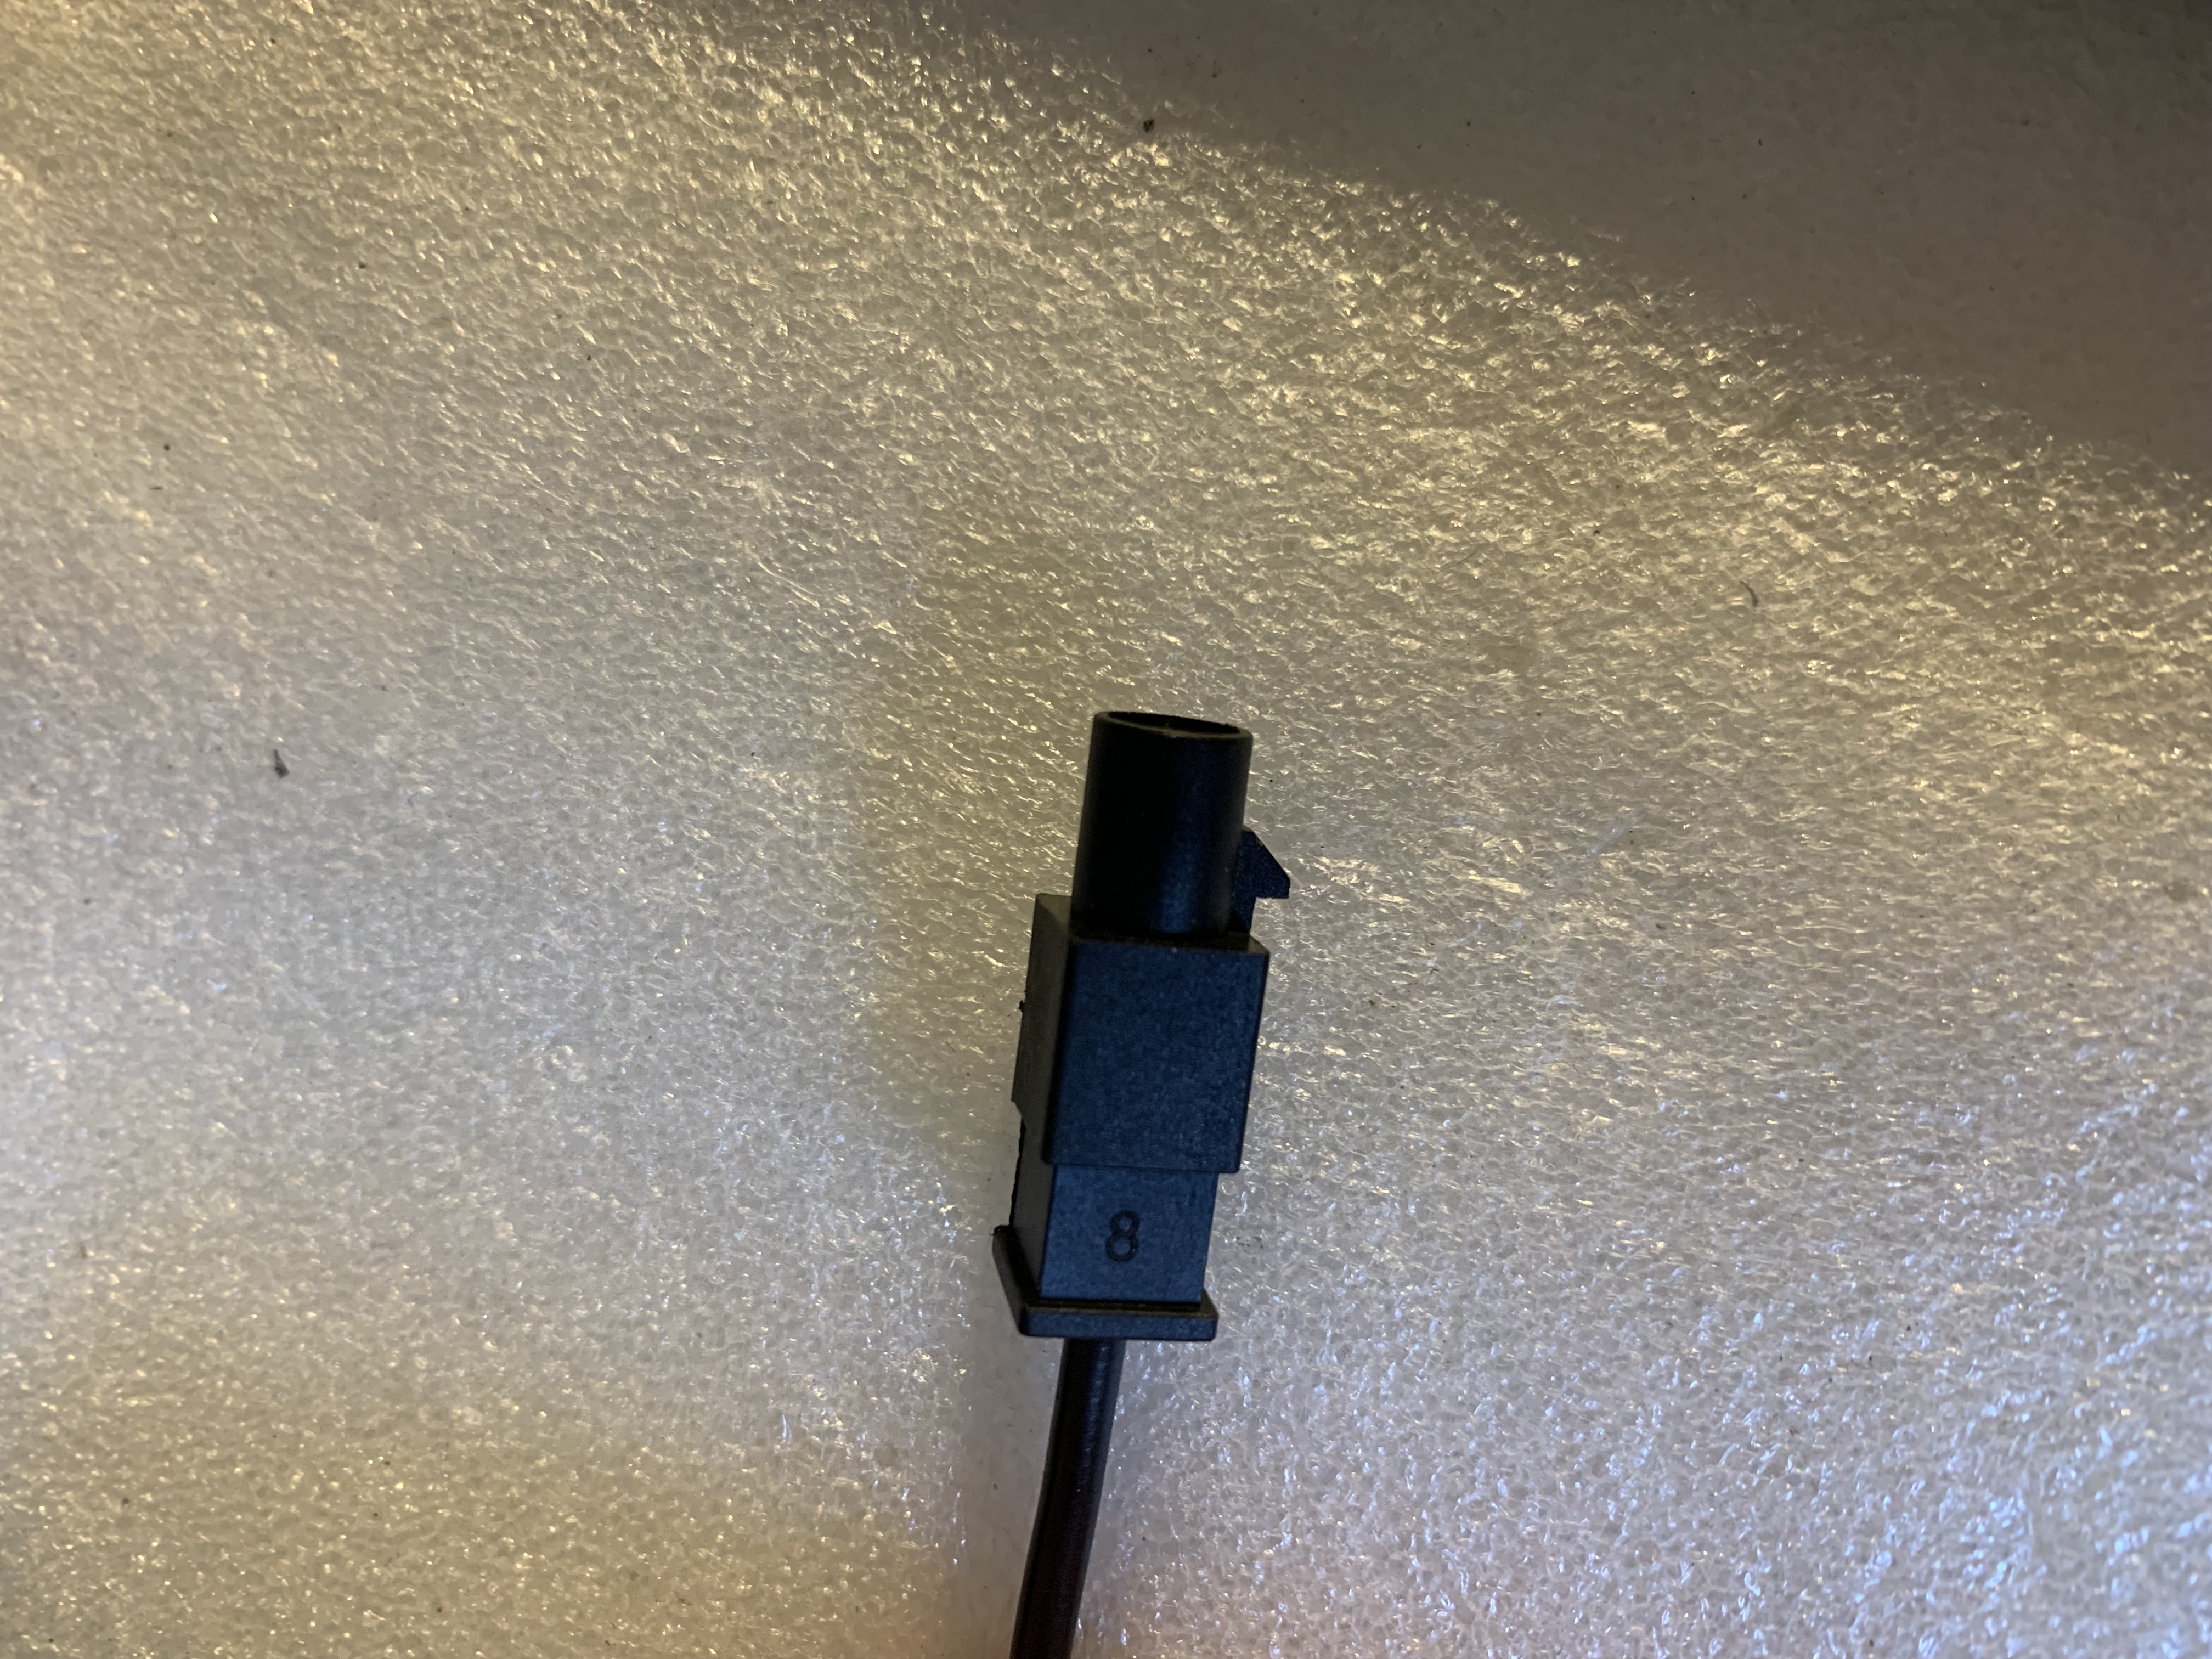
Connect AM/FM antenna adapter to the vehicle. You may want to use an aftermarket antenna to get more stations if you listen to a lot of radios. Or you can download iHeart radio and other radio apps.
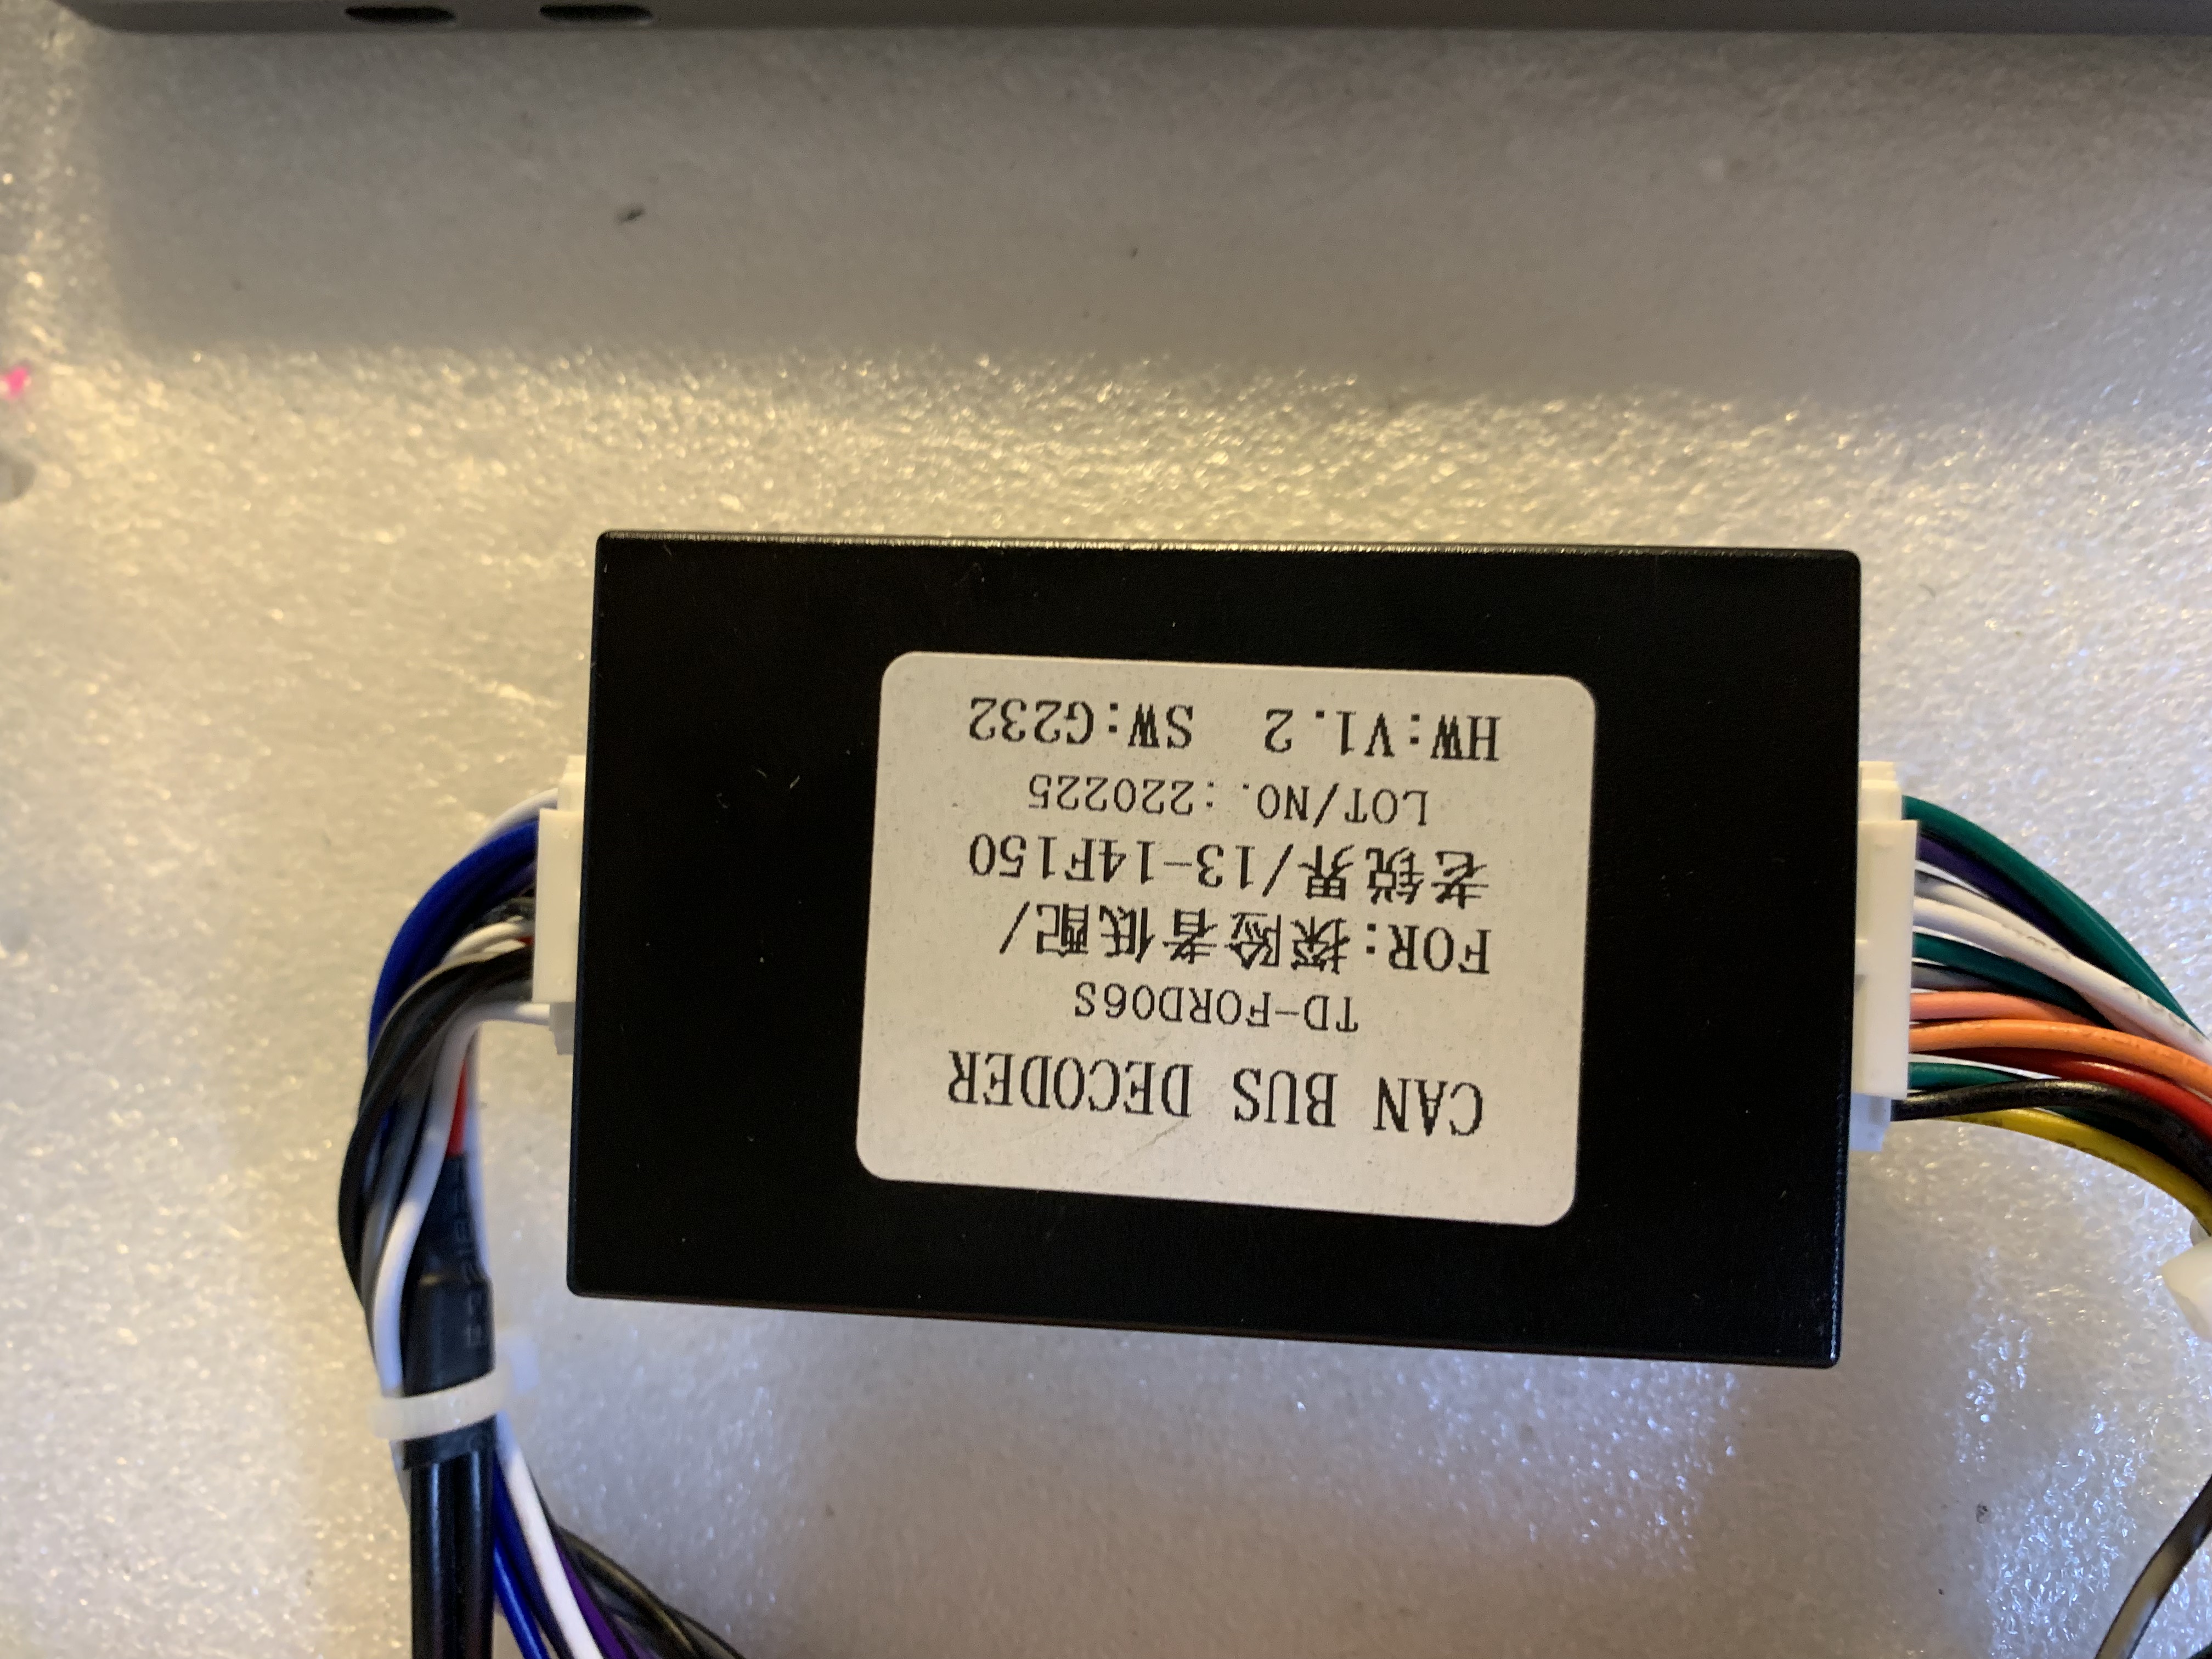
Connect both ends of the decoder box to the main harness. The decoder box is responsible for enabling climate control, steering wheel control and radio power on and off.
** Please do NOT connect any of the loose wires and two prone black connectors on the main harness. Please leave them disconnected as they are for other Ford vehicles.
After connecting all the plugs to the factory side, now we will connect the harnesses to the radio.
On the main harness, please connect the black 20 pin connector to spot "A" on the brain box. Then connect a white rectangle connector to spot "J" at the back of the radio. You can check and refer to these locations on the chart behind the radio. Do NOT connect the white connector to "I".
After that, you can connect these connectors to the back of the radio:
Yellow line out connector to "I". This connector has 5 preamp RCAs and an amplifier turn on grey wire. This wire supplies 12V and can be used for most of the aftermarket amplifier.
Black AC IN connector to "B". This cable is responsible for reverse camera input. You can add connect additional video input onto these cable. Brown wire with tag "back" is a 12V reverse trigger. If our radio does not display the reverse page when gear is shifted to reverse, you can connect this brown wire to reverse trigger on the vehicle like the reverse lamp to trigger the radio.
Brown connector has two USBs on it. The "OTG USB" port can be used for both plug in CarPlay and Android auto connection. After the radio is turned on, go to "apps" on the top then "Zlink" to access CarPlay and Android Auto.
After these, you can connect the external microphone to "M". Then connect Wifi, GPS antenna and AM / FM antenna adapter to N, O and H respectively.
Put the air vent on top of our radio and reverse the steps to put the radio in.
AC Settings:
Please check if AC is working. If it is not working, please refer to the. settings below
If you have a model before 2016 with manual AC, please choose "Explorer LO LO" for manual AC and choose 2016 for car info and choose "tangdu" for protocol.
If you have a model 2016 and after with manual AC, please choose "Explorer LO LO", choose 2017 Manual under car info and "tangdu" under protocol.
After choosing correct car type, do not change any other settings, press ok then save and reboot to take effect.
SYNC Retaining Radios:
For SYNC retaining radio, please follow the video below to remove the factory panel and screen at the bottom. You do not need to remove CD player.
https://www.youtube.com/watch?v=enmdY-v-s5s
If you have SYNC 2, please locate your SYNC 2 module behind your factory screen:
https://www.youtube.com/watch?v=RD6e8WGME1A
Watch until 0:46. You do not need to disassembly further. At the back of new radio, you will see an identical black square connector like the one behind your factory screen. Connect the module to the connector and secure it with the screws.
If the defrost is blowing hot and have no control after installing the radio with SYNC 2, please go to settings on the top - go to install set on the left - password 8861 - car type - choose Explorer with SYNC - car info - choose 2016 - press ok at the bottom - press back at bottom left - press save and reboot
If you have SYNC 3, you have a similar module like in the SYNC 2 video but connected with a cable. Remove the module and connect the cable from the SYNC 3 to the new radio's corresponding connector at the back.
Connect the provided harness to vehicle's screen connector, then connect the other end to the factory screen. Connect white plug to the back of radio.
Reverse the removal steps to install the radio back on.
Comments
0 comments
Article is closed for comments.