
Please follow the video below to remove your factory radio:
https://www.youtube.com/watch?v=XFE6oi5YHSI
After that, unscrew two screws on top of the A/C switch assembly, then remove the frame around the gear shifter.

For Auto AC:
Please connect all matching connector to the main harness then connect the the factory AC connector to the back of the radio screen. There will be connectors from vehicle and radio side that was left not connected.
After that, connect brown USB cable, black Video in cable and yellow RCA cable for preamp out. Connect external microphone, WiFi Antenna and GPS antenna to the back of the unit.
GPS antenna can be left inside the dash and the signal strength can be checked on the unit under settings on the top (gear icon) - GPS monitor on the left - look for green bars on the chart. If there are grey bars but no green bars, the location can receive signal but it is weak. If there are green bars on the screen, the antenna is getting strong signal. Please do not switch the connections between WiFi and GPS antenna.
For Manual AC:
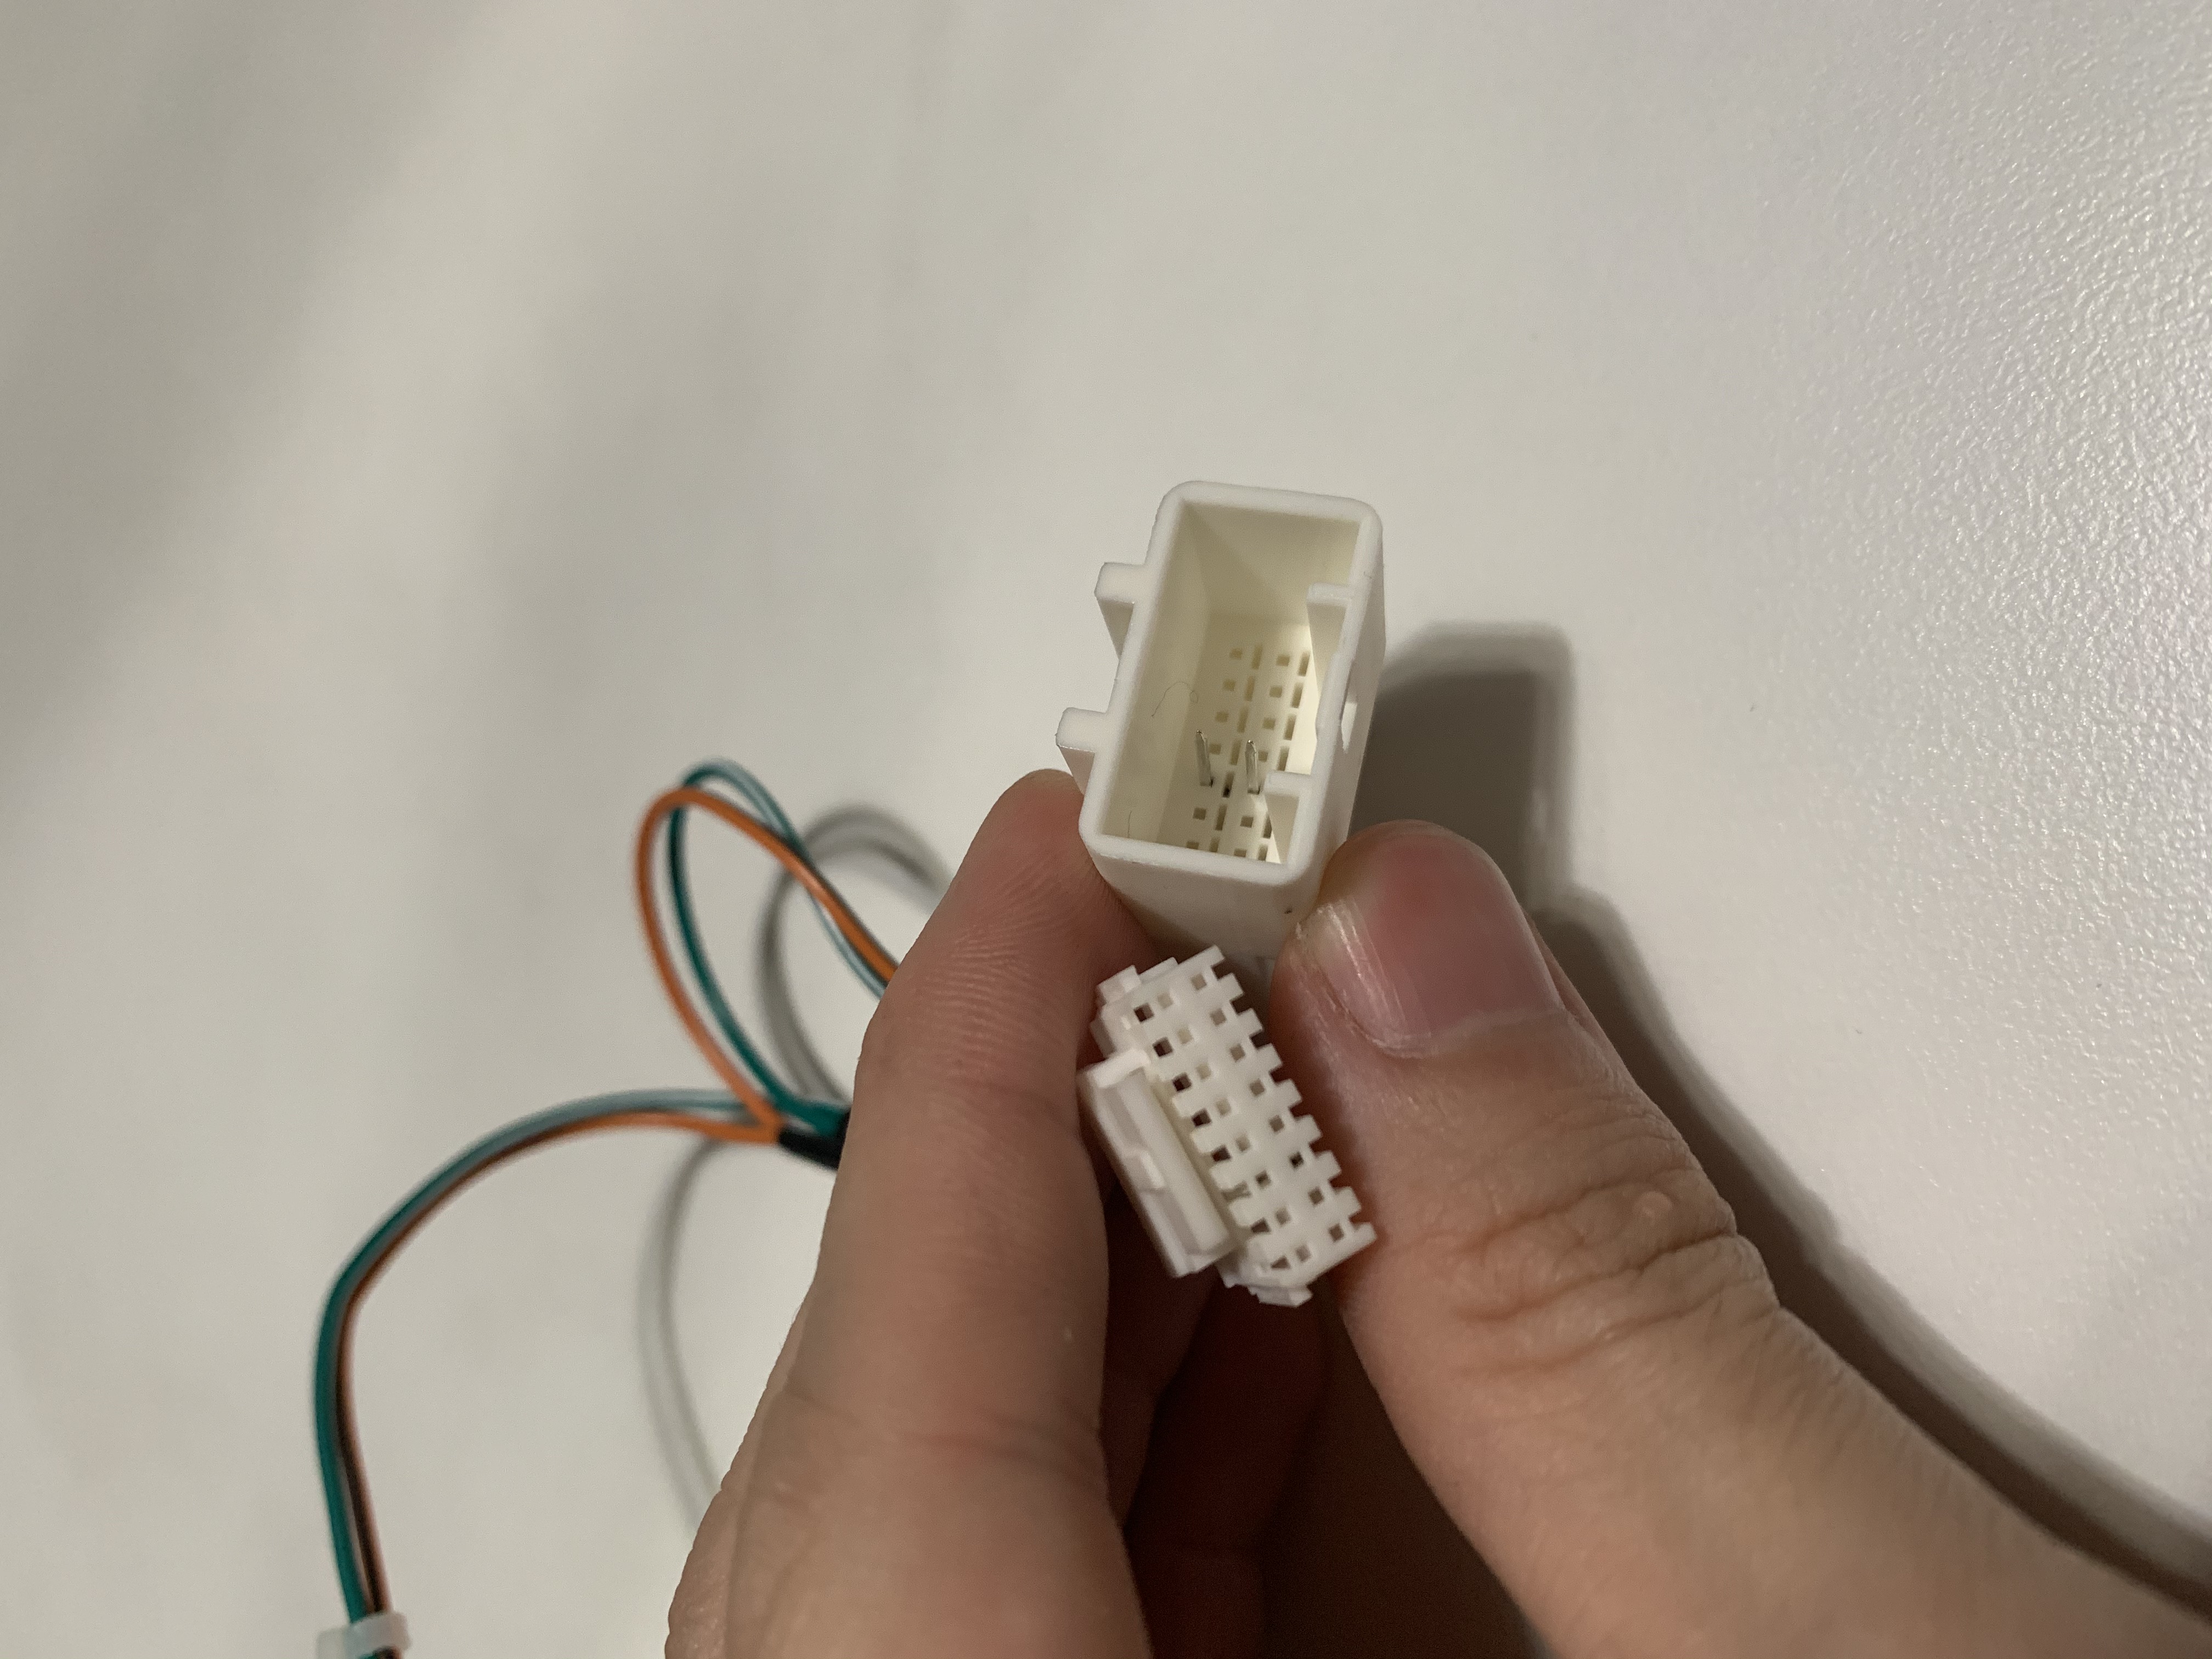
Please connect all the matching plugs then follow the steps below to configure the unit. Make sure the AC connection from the vehicle is connected to the harness below and the harness is connected to the CANBUS decoder box. Both side of the decoder box are used.
After that, connect brown USB cable, black Video in cable and yellow RCA cable for preamp out. Connect external microphone, WiFi Antenna and GPS antenna to the back of the unit.
GPS antenna can be left inside the dash and the signal strength can be checked on the unit under settings on the top (gear icon) - GPS monitor on the left - look for green bars on the chart. If there are grey bars but no green bars, the location can receive signal but it is weak. If there are green bars on the screen, the antenna is getting strong signal. Please do not switch the connections between WiFi and GPS antenna.
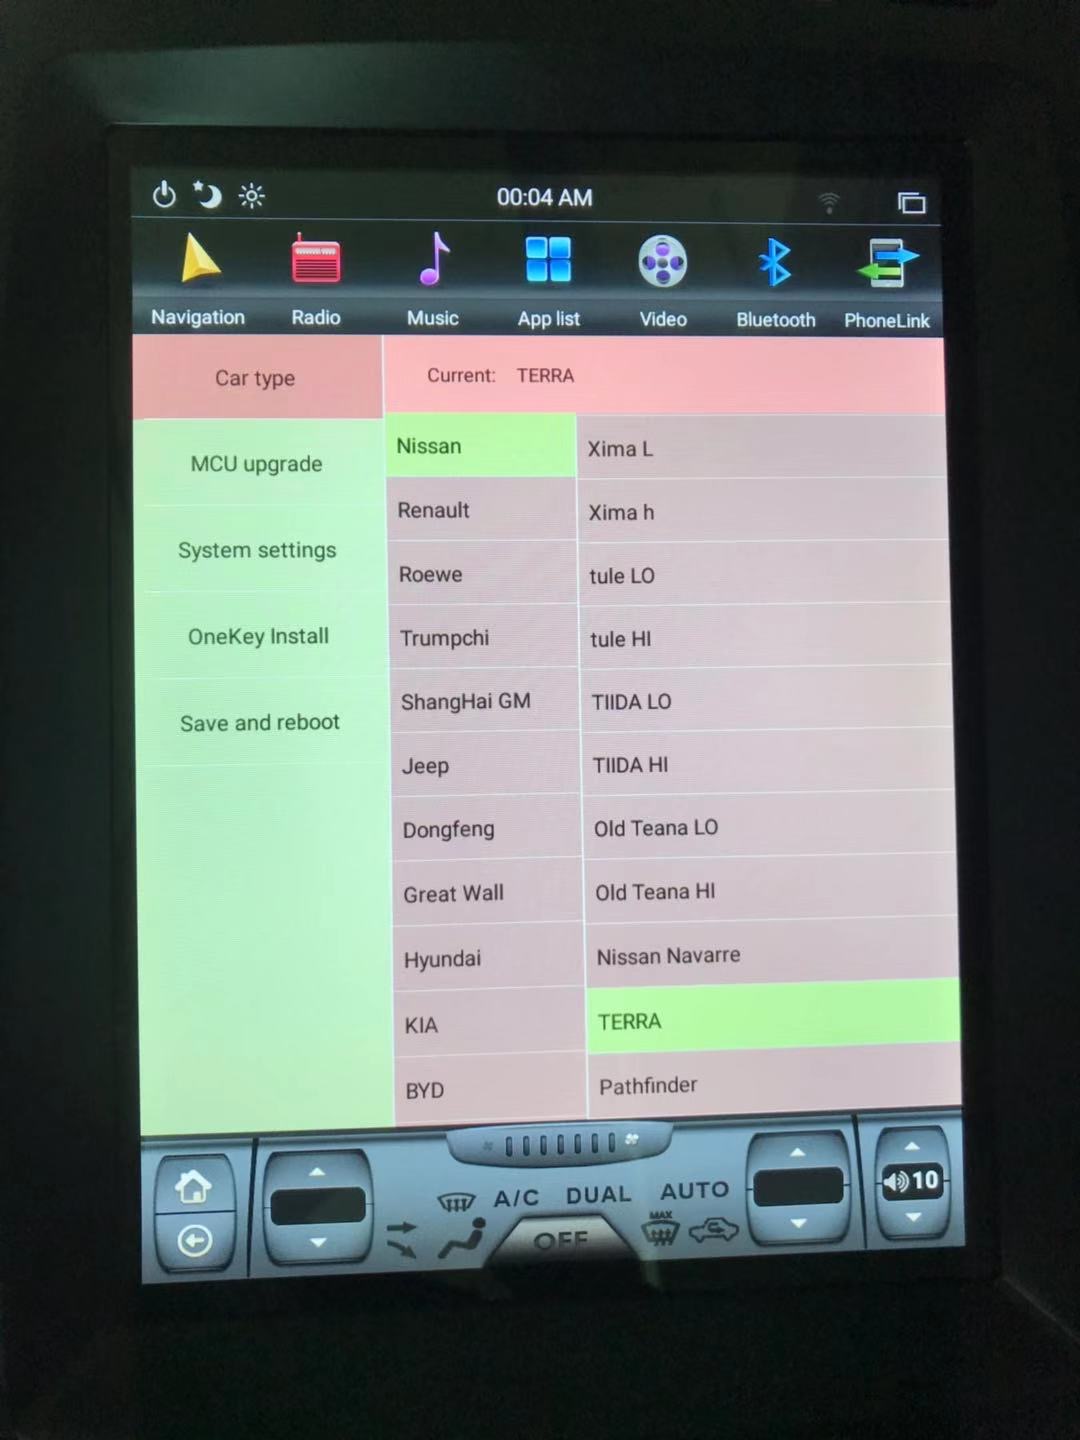
First, we need to go to setting - Install set or Advanced(On the left hand side. Scroll down if you dont see them) - Type in password 8861 - click on Car Type to go into a pink screen. Follow the pictures below to configure the car type setting:
-Choose TERRA
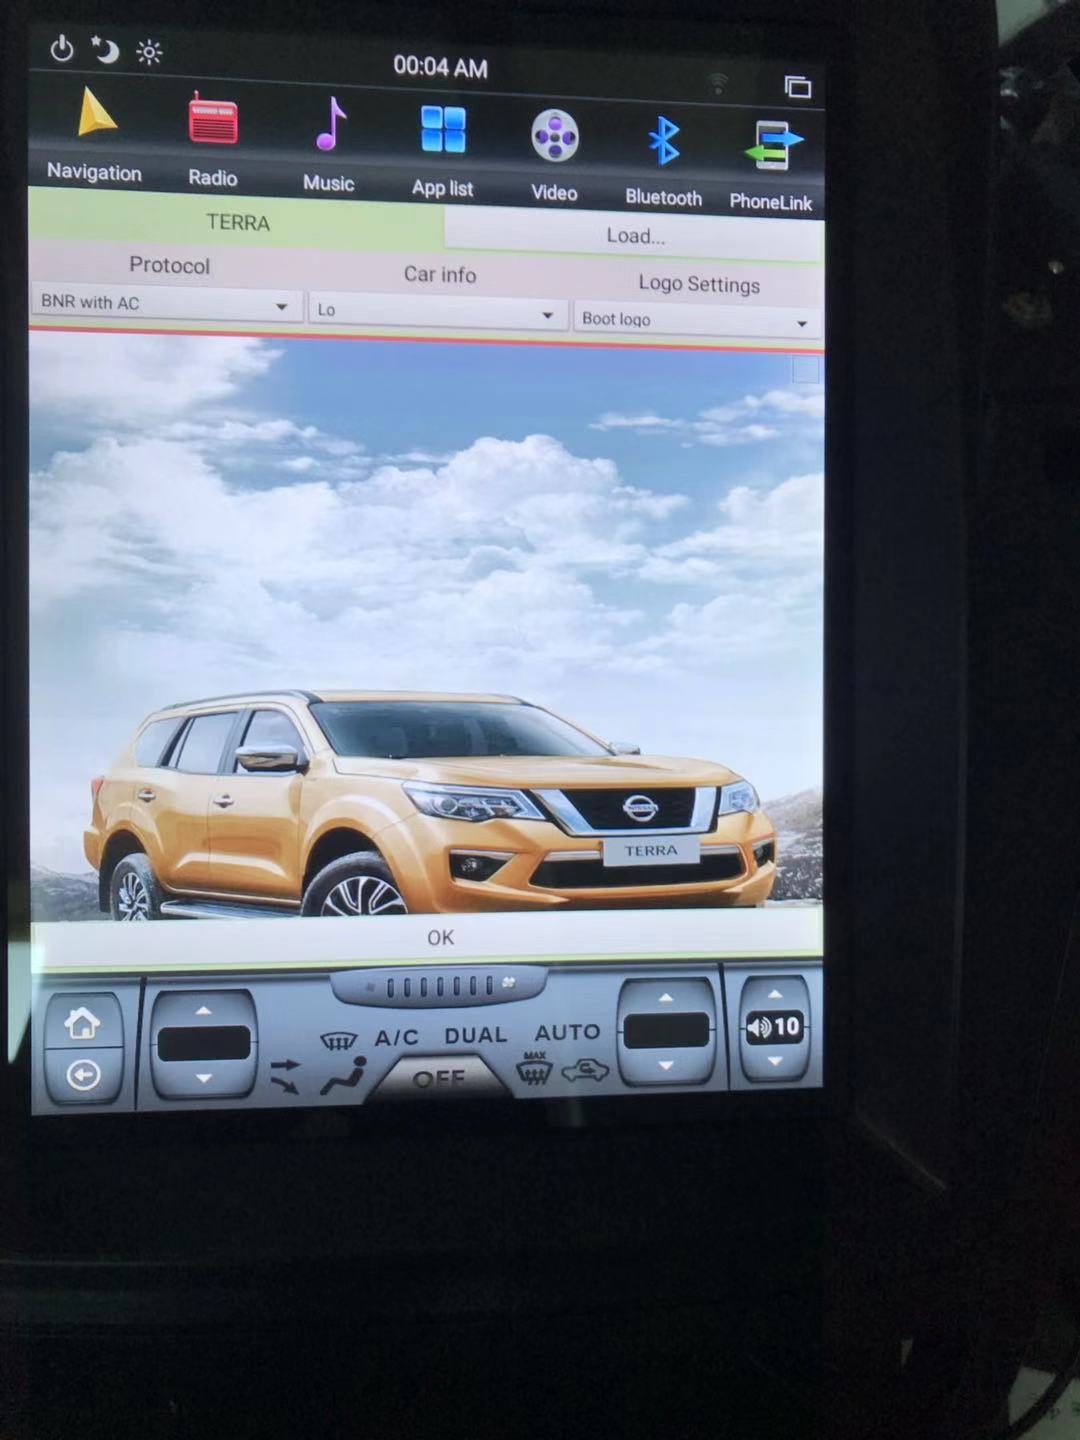
- Choose BNR with AC under protocol then Choose "Lo" under Car Info
Press "OK" at the bottom, then press back under the home button at bottom left of the screen.
After going back to install set page, then follow the instruction if you have 2-32 7.1 version of the radio. If not, please press save and reboot.
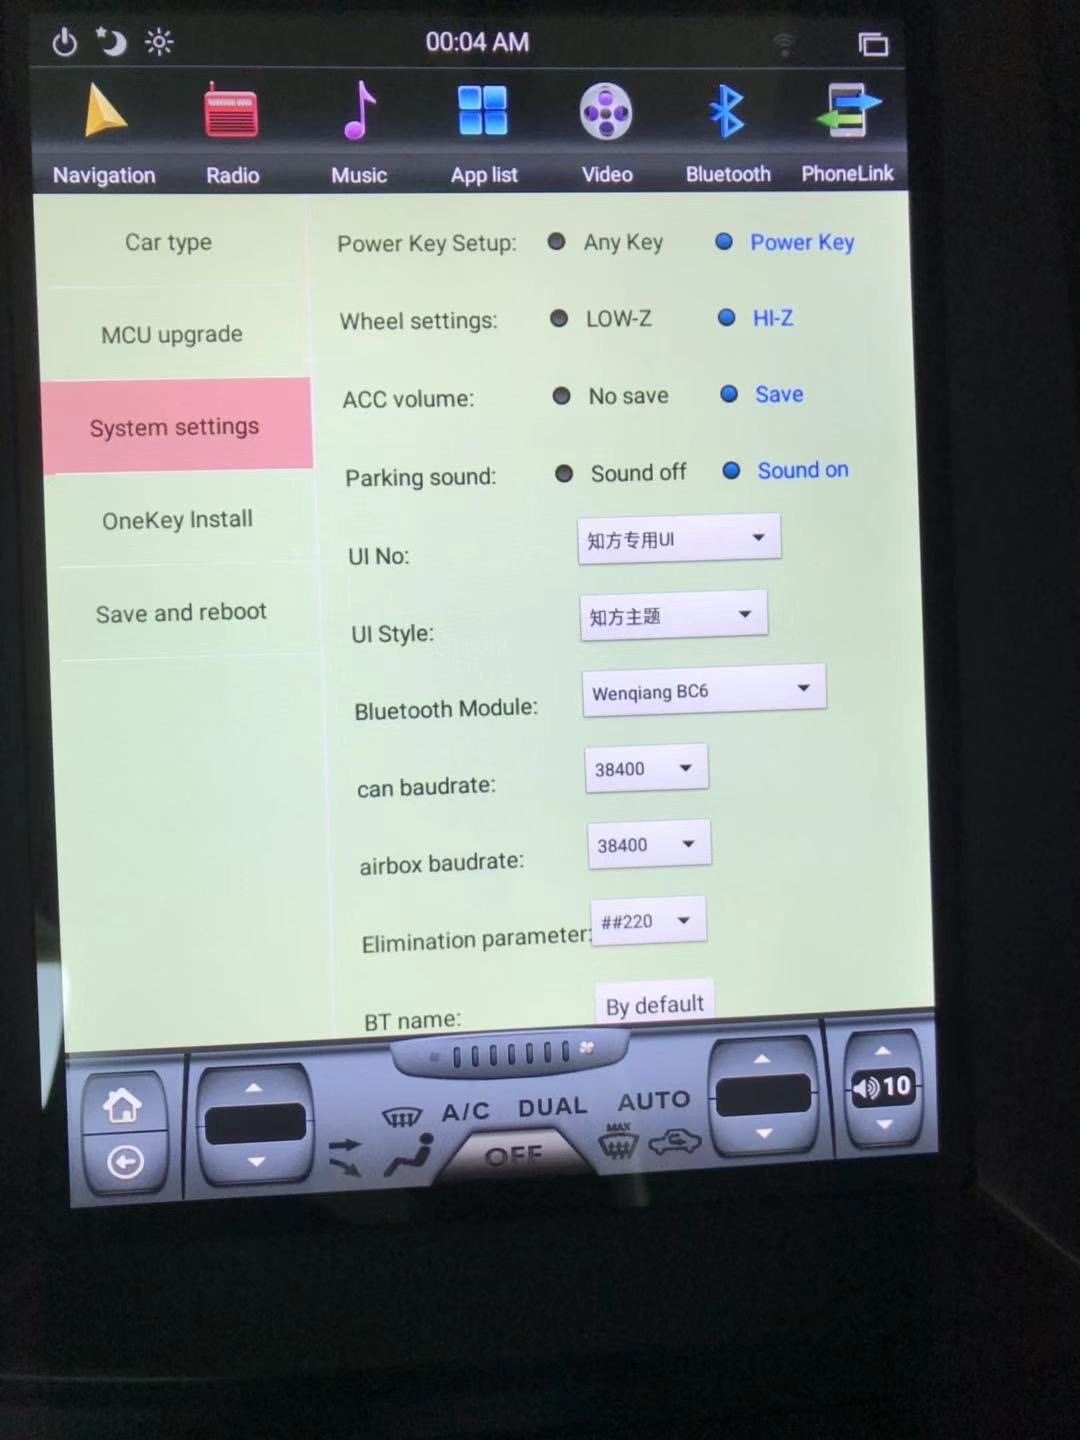
If you have 2-32 7.1 unit, please follow the pictures to adjust settings in Advanced:
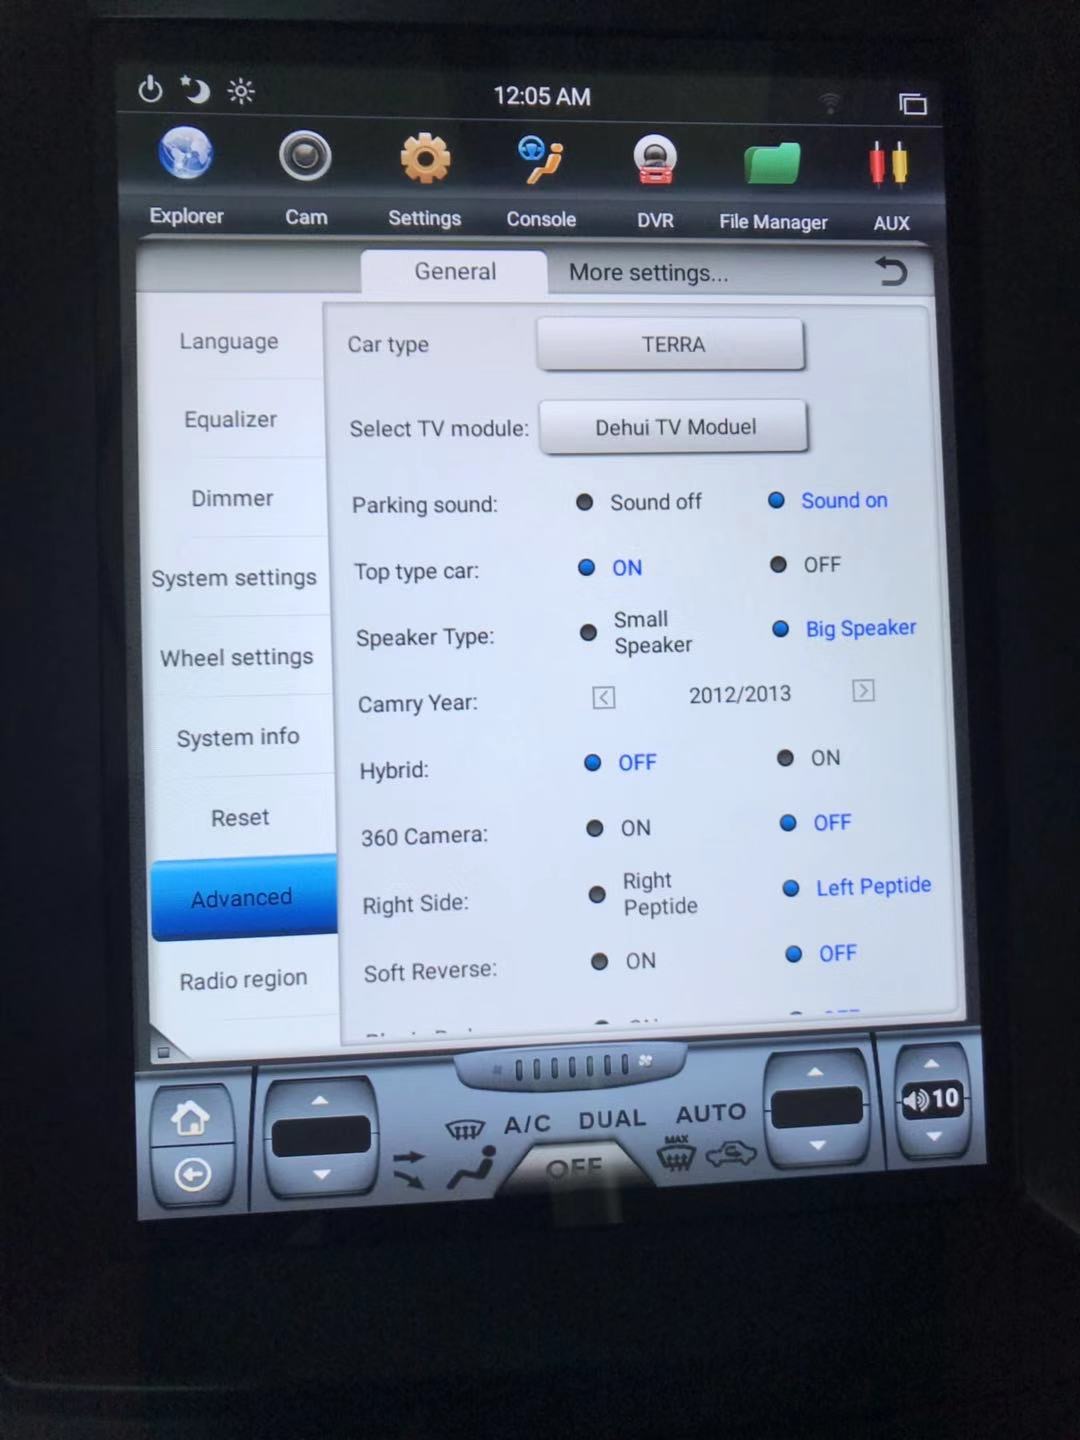
**For PX3 only: After that, please go to system info - press and hold the center of screen - type in password 7890 - go to system setting - adjust the setting according to the pictures:
Please pay attention to the Air Box Baudrate number and CAN Badurate number. Both should be 38400.
Steering wheel control pairing unsuccessful:
Please try pairing first at setting - wheel setting on the left - choose one of the functions on the screen then press and hold the corresponding key on the wheel to pair. When the button on the screen light up green, the pairing is successful.
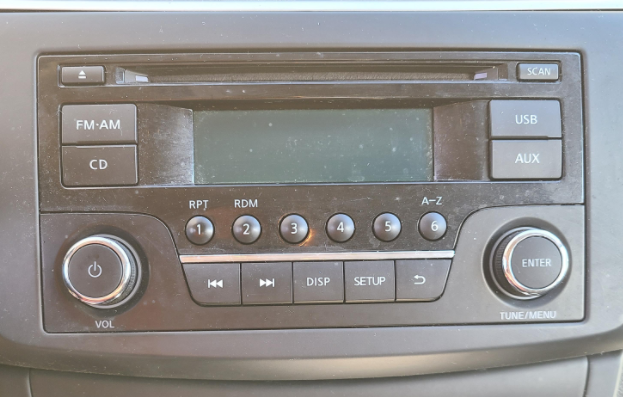
If you have a factory radio that looks like this: with a narrow LCD screen, you may need to bypass your bluetooth module in order to pair your steering wheel control:
To bypass bluetooth module, please remove the glove compartment, then you can find your factory bluetooth interface on the right hand side:

Please locate a 32pin connector on the bluetooth module. Refer to diagram below for the pinout.
Make sure the color on the diagram matches the actual plug before proceeding.
Use tapping to connect following wires:
LAD IN 1 to LAD OUT 1
LAD IN 2 to LAD OUT 2
LAD IN 3(GND) to LAD OUT 3(GND)
After that, pair the steering wheel again on the radio.

Comments
0 comments
Please sign in to leave a comment.