
**Please disconnect the negative lead on the vehicle battery before proceeding.
Please follow the video below to remove the factory radio:
For stock 8" navigation system:
https://www.youtube.com/watch?v=fs1pQjZO4KA
For no navigation type:
https://www.youtube.com/watch?v=c3c_DwI4Nao
After the factory radio is removed, please connect the harnesses to the back side of the radio first. Please make sure the rectangle male connectors are going into the correct spot at the back of the radio. Do not force the connectors in. Make sure the small cutout on the port matches the connectors.
If your factory does not come with a 8" display, please locate the factory climate control connectors and connect those two to the lower back of our radio first. If your factory comes with 8" display, please ignore this step.
After connecting the AC harness, please proceed to connect the main harness on the radio side to the vehicle.
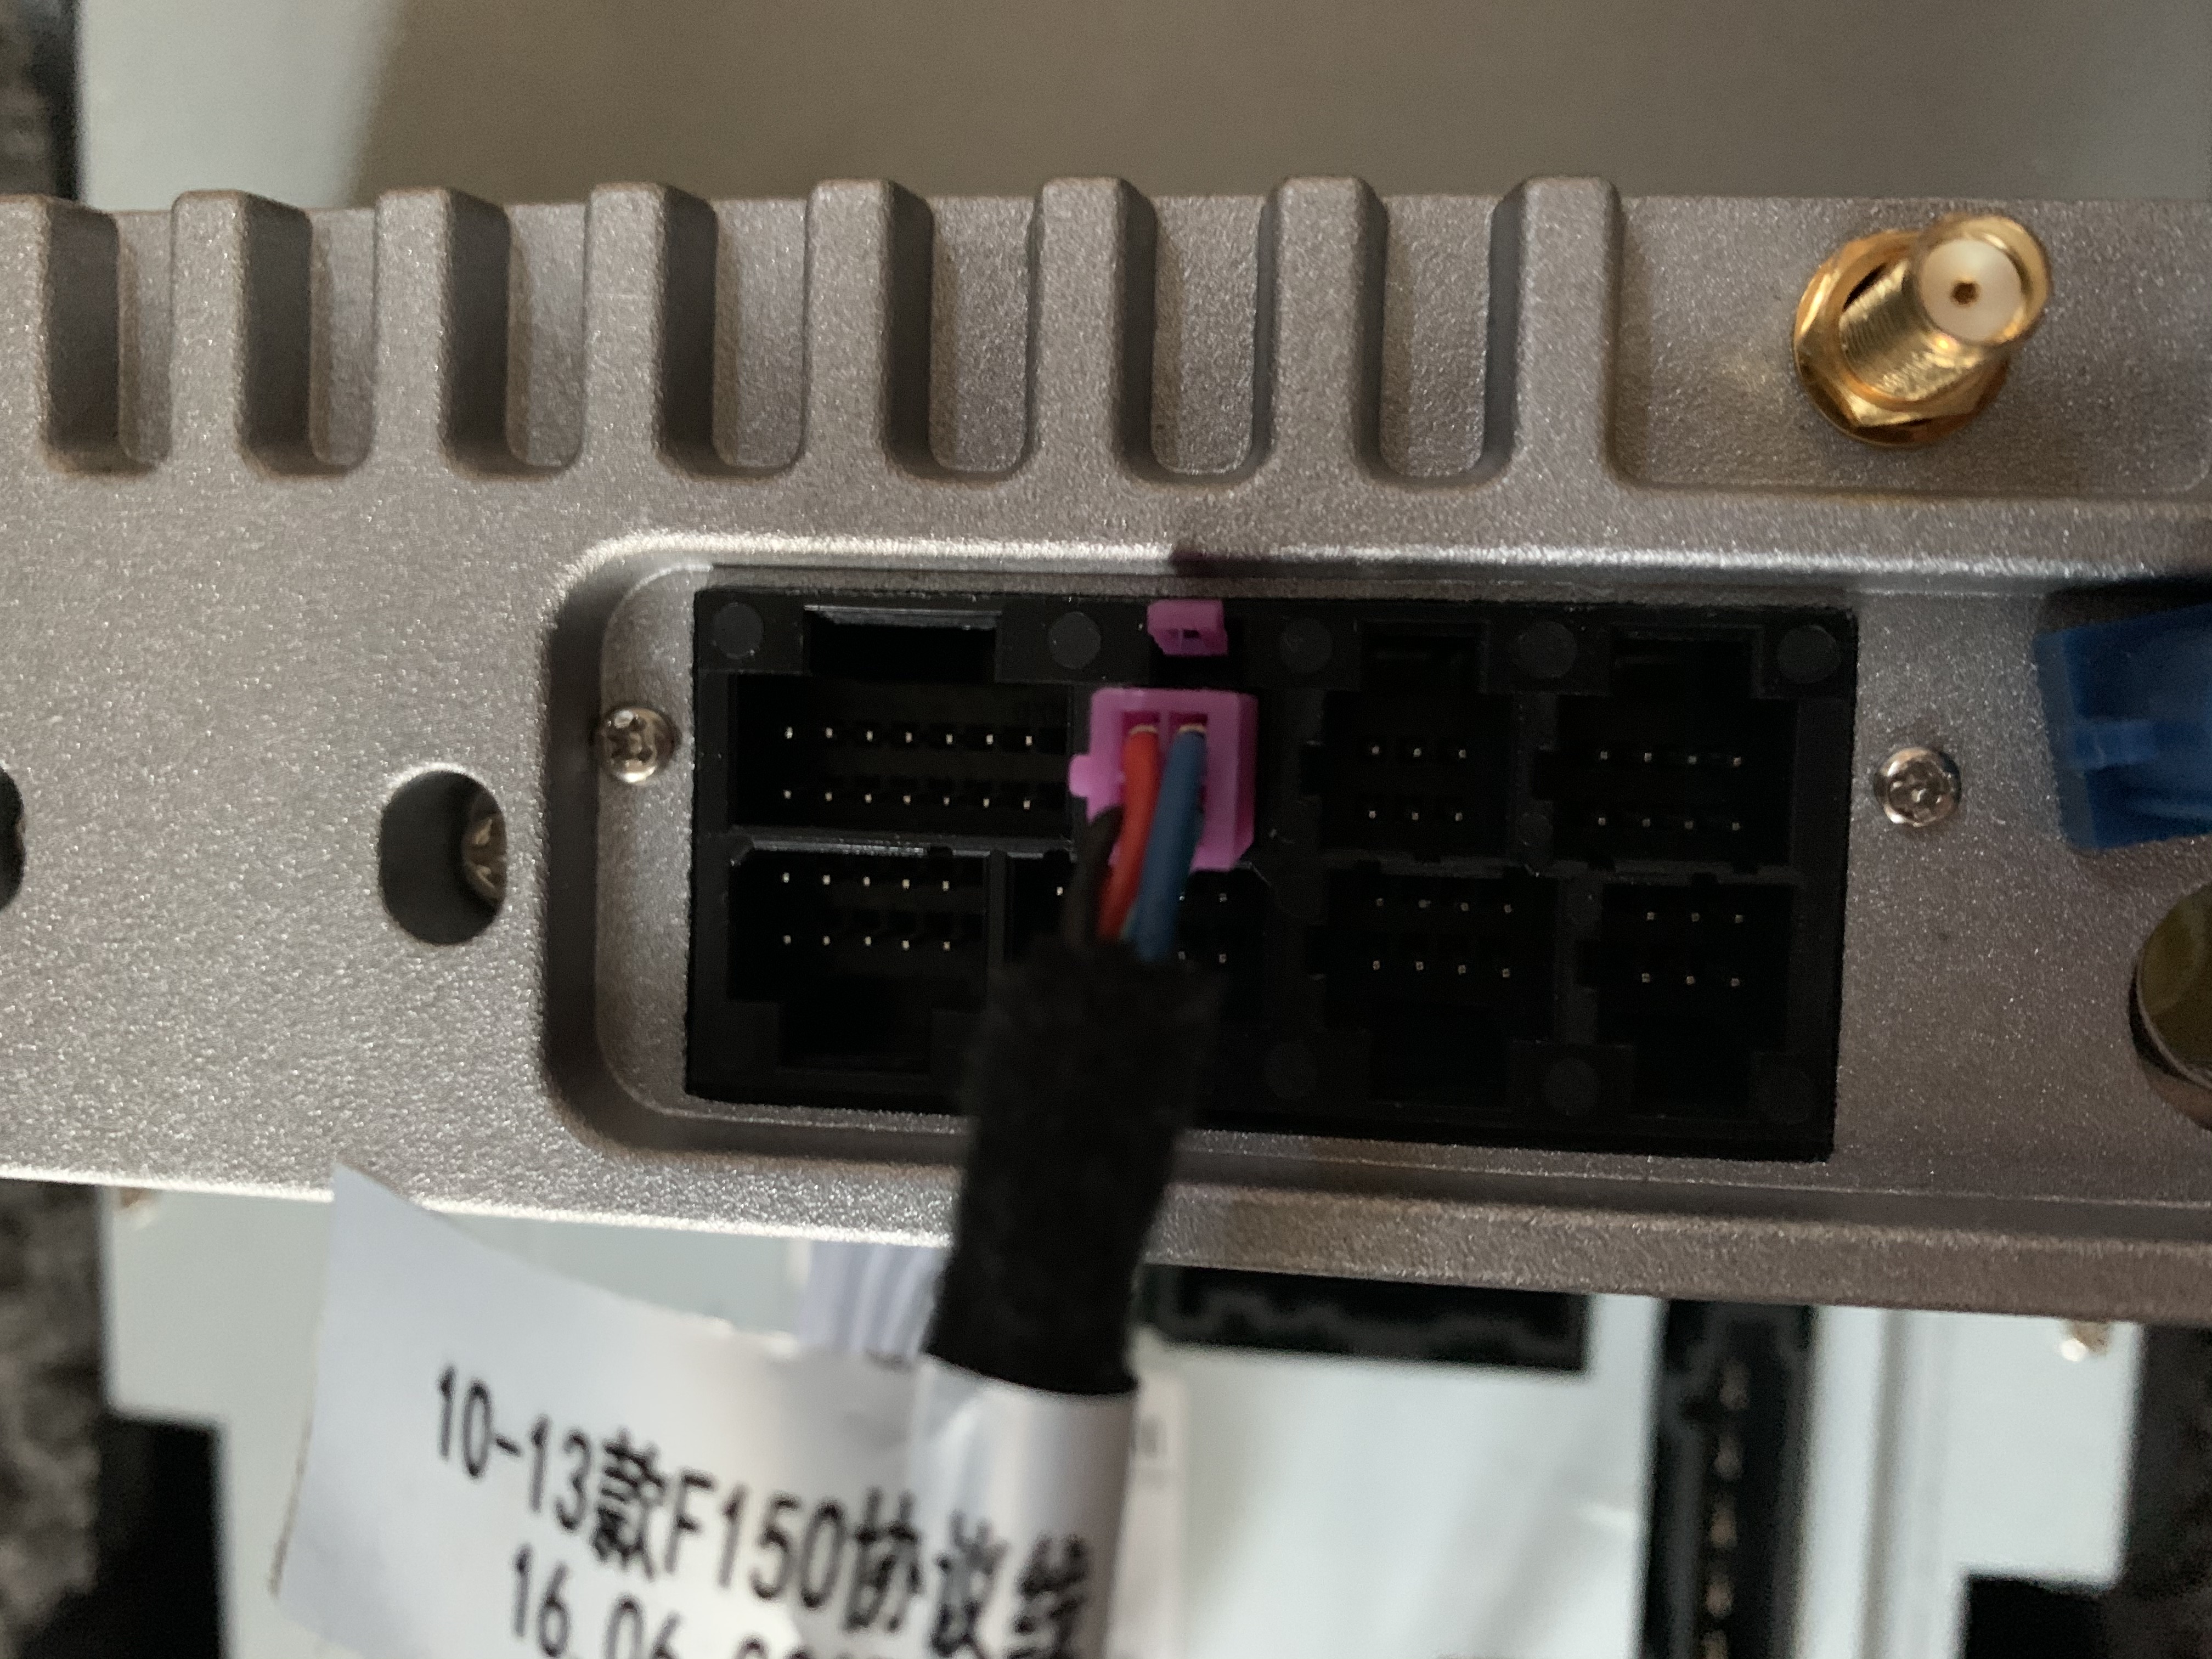
12.1" radio: the small purple connector is the canbus connector. It is responsible for radio turn on, OBD II signal and AC communication.
13" radio: radio is turned on by the canbus decoder box attached to the main harness. The decoder box is also responsible for AC communication. If your AC is not working, please make sure the grey cable with two white connectors are connected. Please scroll to the bottom for reference picture.
Places to mount the new radio:

For 12.1" Tesla style radio:
If you have the 13", please keep scrolling to the bottom:
If you AC has no control and your fan is on, first make sure the two AC connectors are connected at the back of the unit. Second, please locate this connector from your truck. Connect this plug last.
Connect the AC connectors at the bottom of the radio first then connect the following connector in the picture.
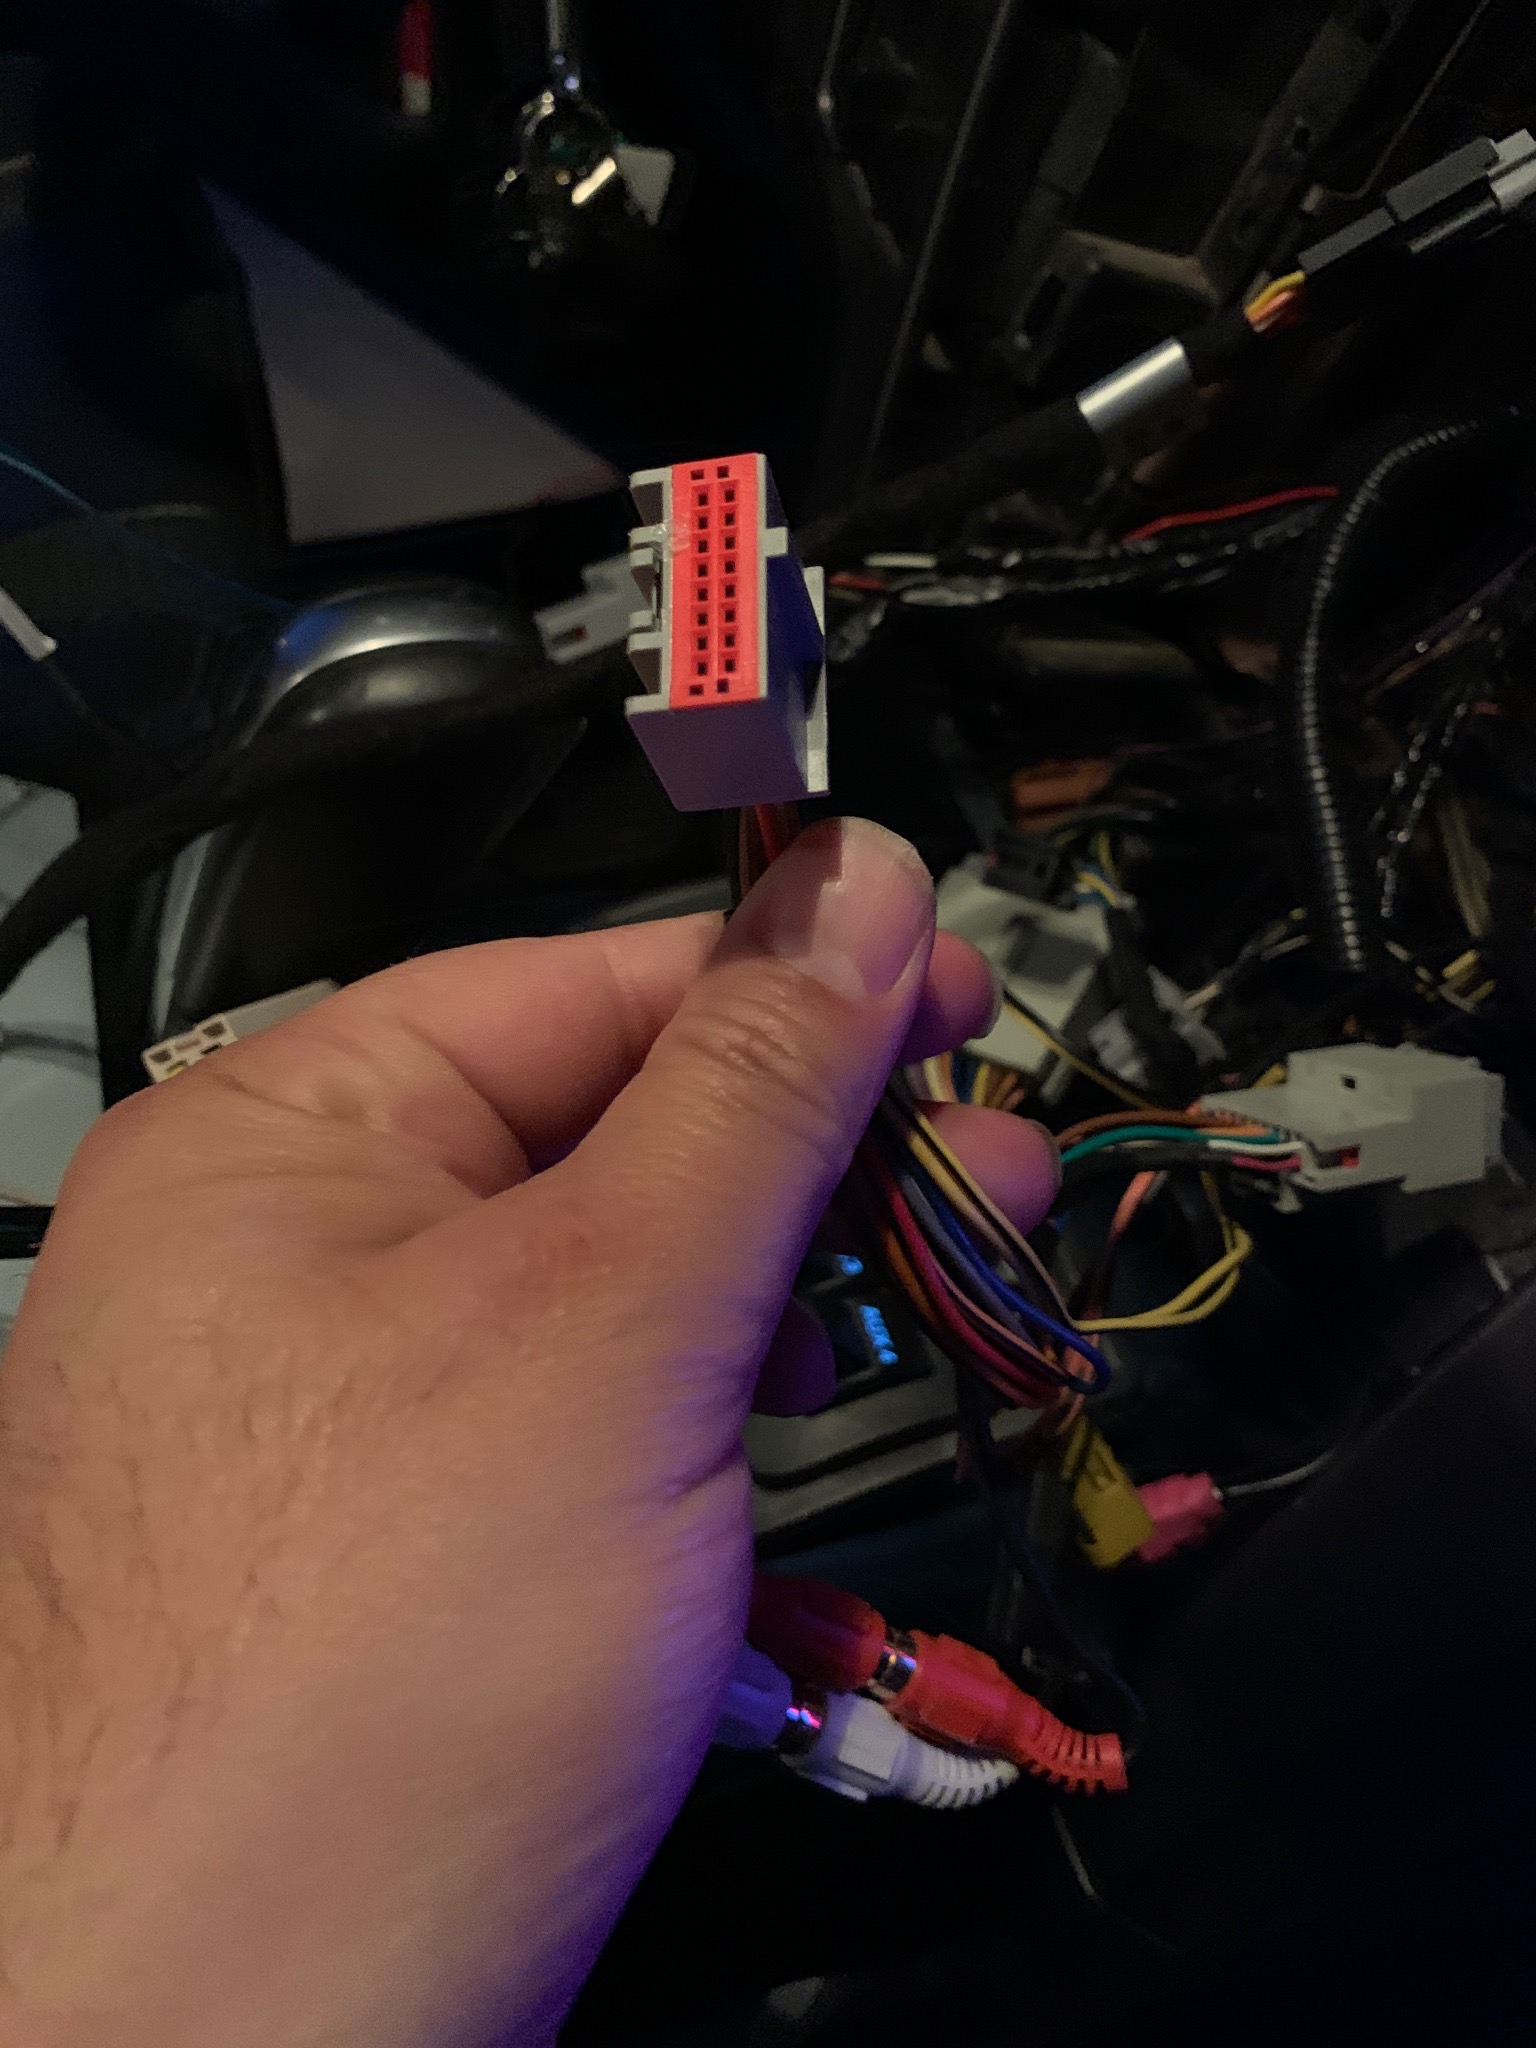
Connect that connector to this one on the harness that has a small purple plug:
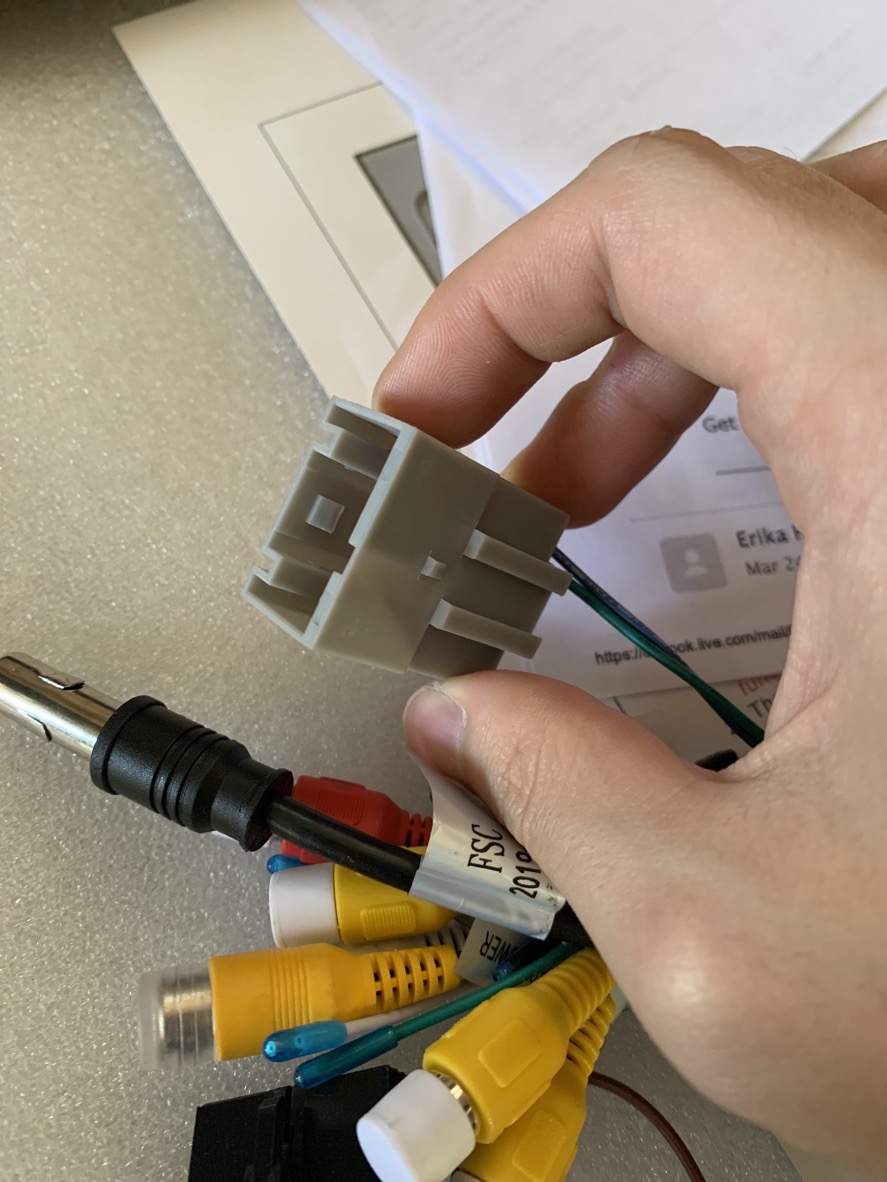
Connect the purple small connector to the back of the unit:
Then on the same harness, connect OBD II harness and route OBD II plug to the gas pedal where the OBD II port is. Connect the two.
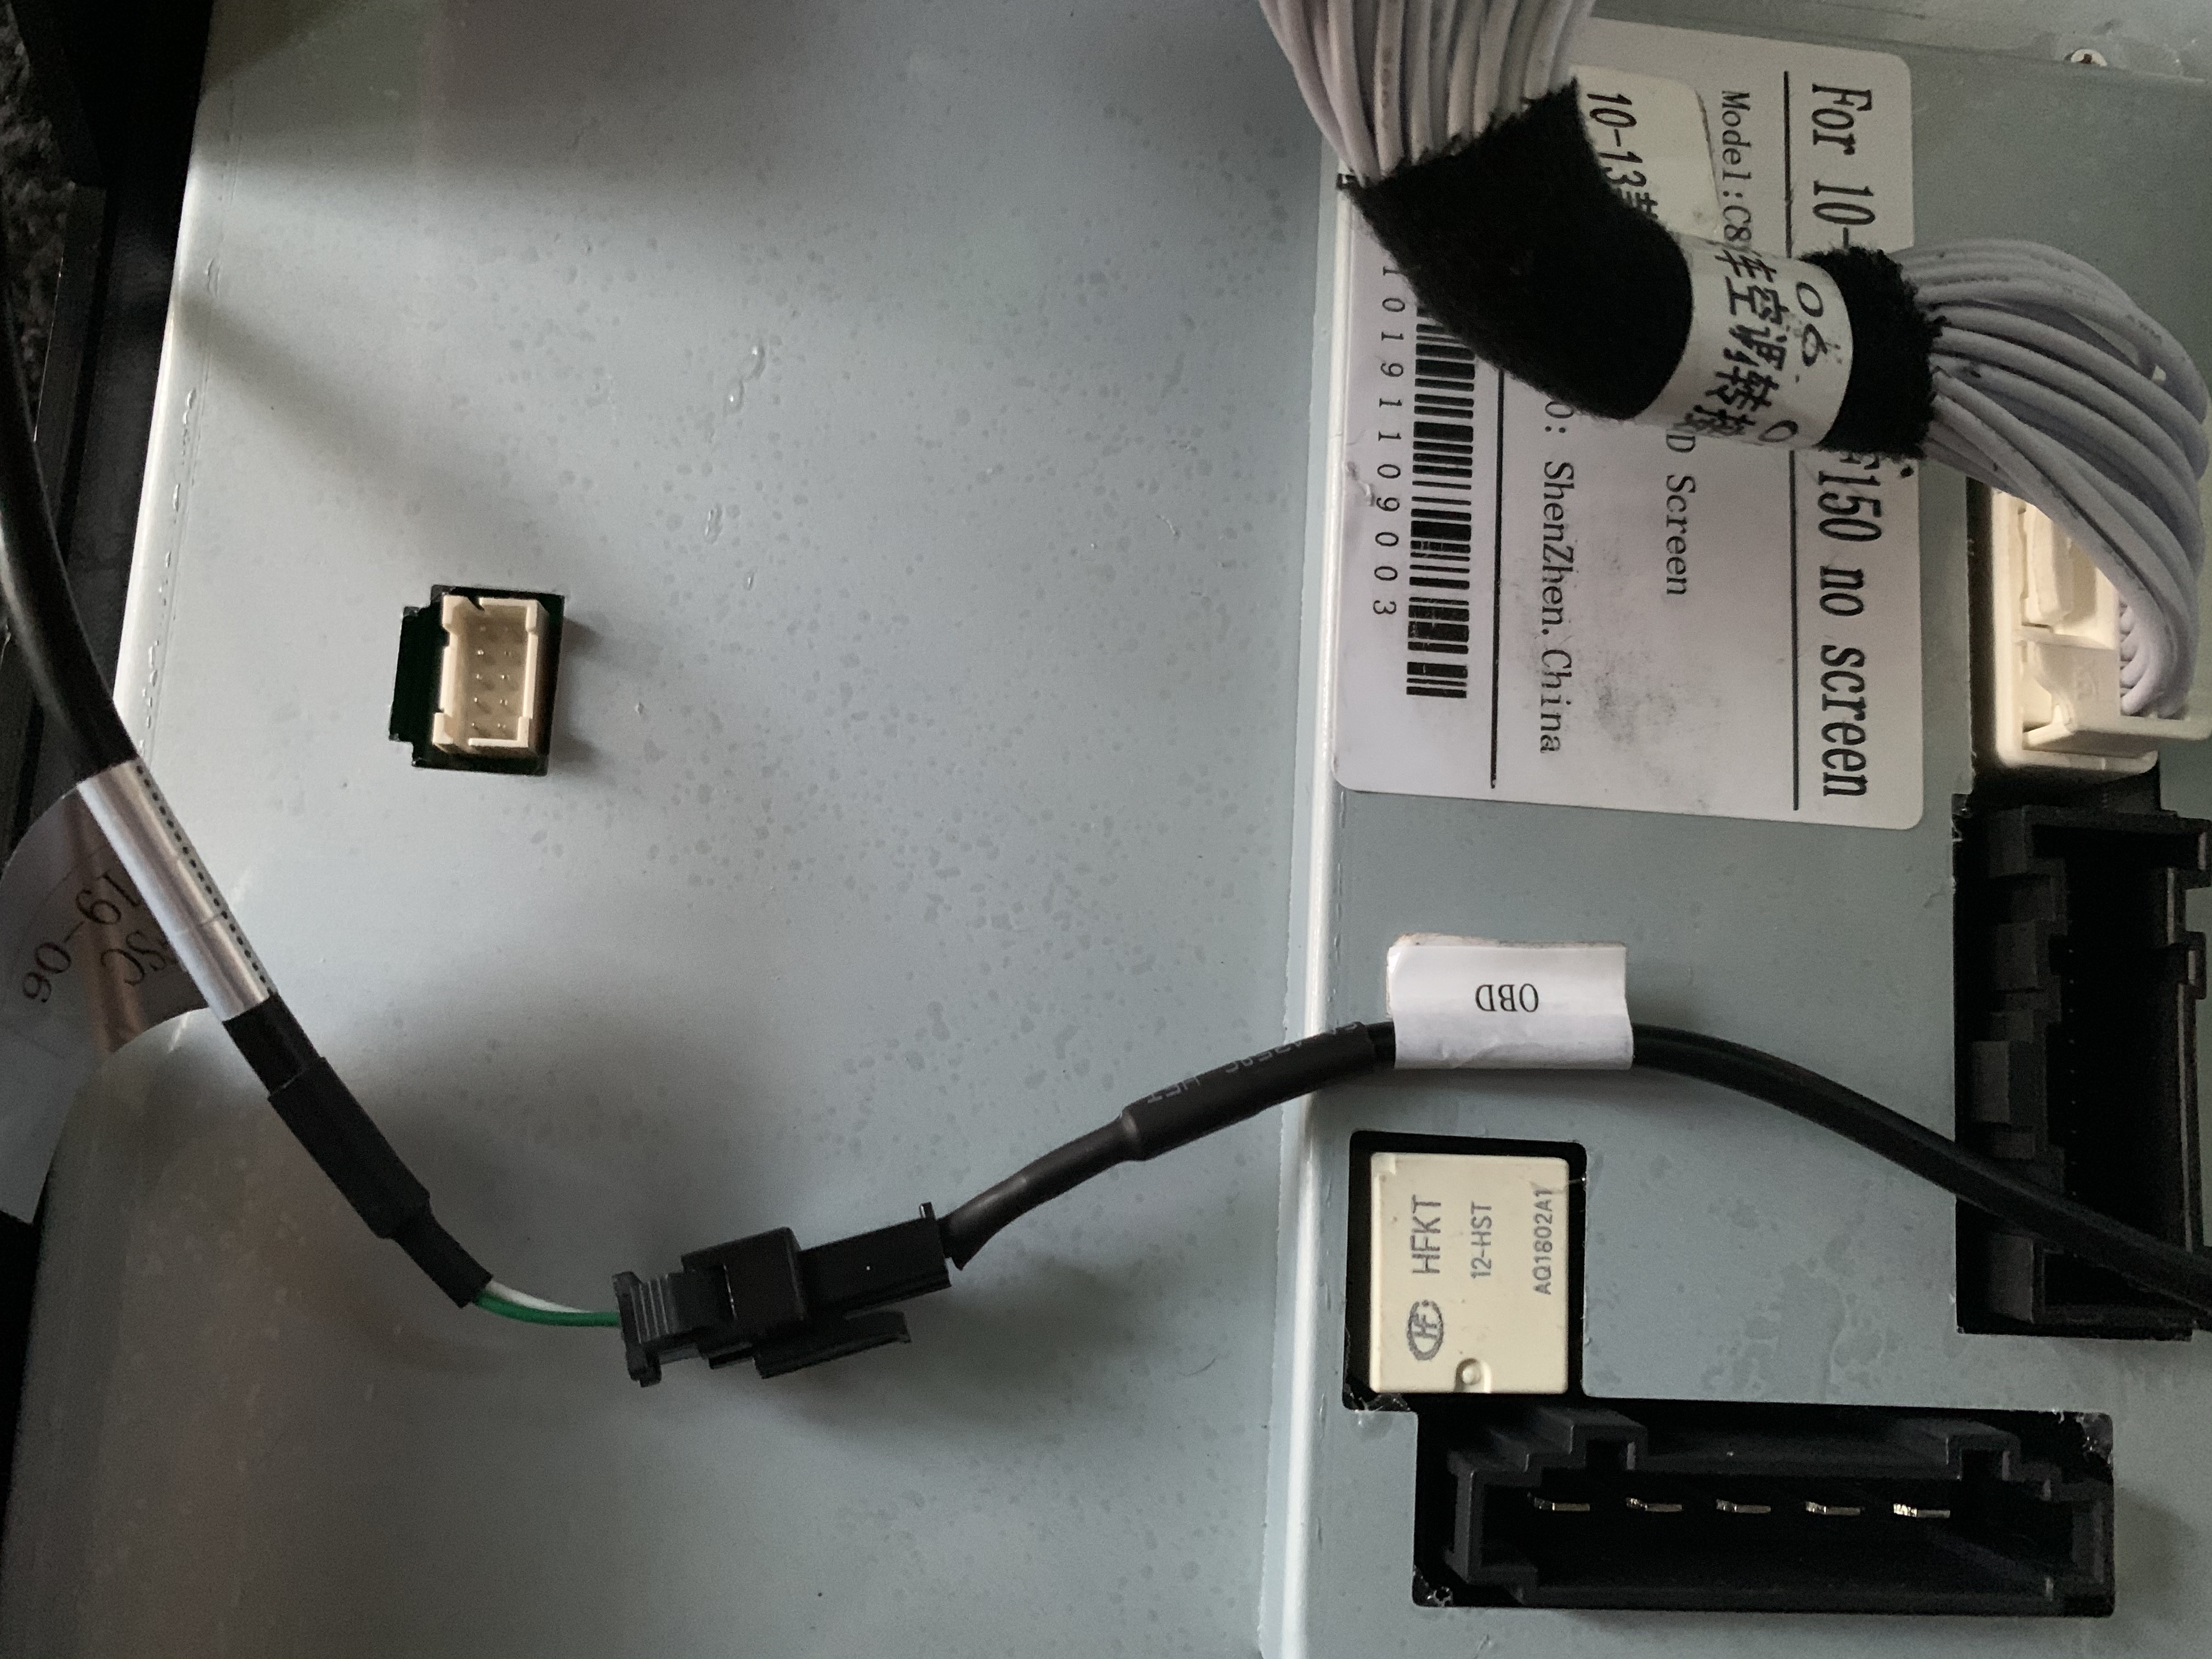
For no navigation type:
After that, connect the factory AC connectors to the ac ports at the lower back of the radio. For auto AC, you will have two connectors going into two adapters on right side of the picture above. You will not have the port at the bottom.
For manual AC, you will connect the top what plug and bottom flat black plug shown in the picture above.
Then connect the rest of connectors at the back of the radio like this:
Purple plug and AC connectors are not shown in the picture.

If your AC is COMPLETELY not working, please refer to settings below:
In order for AC to function, you need to have protocol cable connected and through.
A quick way to test it is to check if screen shows door opening information. Turn off the truck and the unit will be turned off.
For factory 8" screen:
The factory AC connector is NOT used. Please make sure there is no bent pin or loose pin on the purple harness and its grey plug.
the car type is F-150 Hi with Default protocol. Car info is 2012.
The CAN Baudrate and Airbox Baudrate are both 38400.
For No Screen Manual AC unit, the car type is F-150 Lo with Default protocol, Car info is manual air.
The CAN Baudrate is 38400. Airbox Baudrate is 19200.
For No Screen Auto AC unit, the car type is F-150 Lo with Default protocol, Car Info is 2012.
The CAN Baudrate and Airbox Baudrate are both 38400.
To access protocol, please go to setting - install set - 8861 - car type - on the page with pink background - choose current one. Please do not change any other settings.
To access Baudrate numbers, please go to system info - press and hold the center of the page - 7890.
Use left side to scroll down and PLEASE DO NOT CHANGE ANY OTHER SETTINGS. It could potentially disable the radio.
For 13":
Please make sure this grey cable is connected correctly:

Comments
0 comments
Please sign in to leave a comment.