
To remove factory AC panel and CD player, please follow this video:
https://www.youtube.com/watch?v=maC4U9OmsDI
For 4" screen:
SYNC 1 is not retained on this unit. The 4" screen and factory CD players are removed during installation.
If you have manual AC, the package will come with an AC board but the SRS light will be on.
If you have Automatic AC, please turn the front AC panel to its back and remove the screws at the back. For video instruction, please refer to the first half of SYNC 3's video. Even though the SYNC module is different, the AC installation is the same.
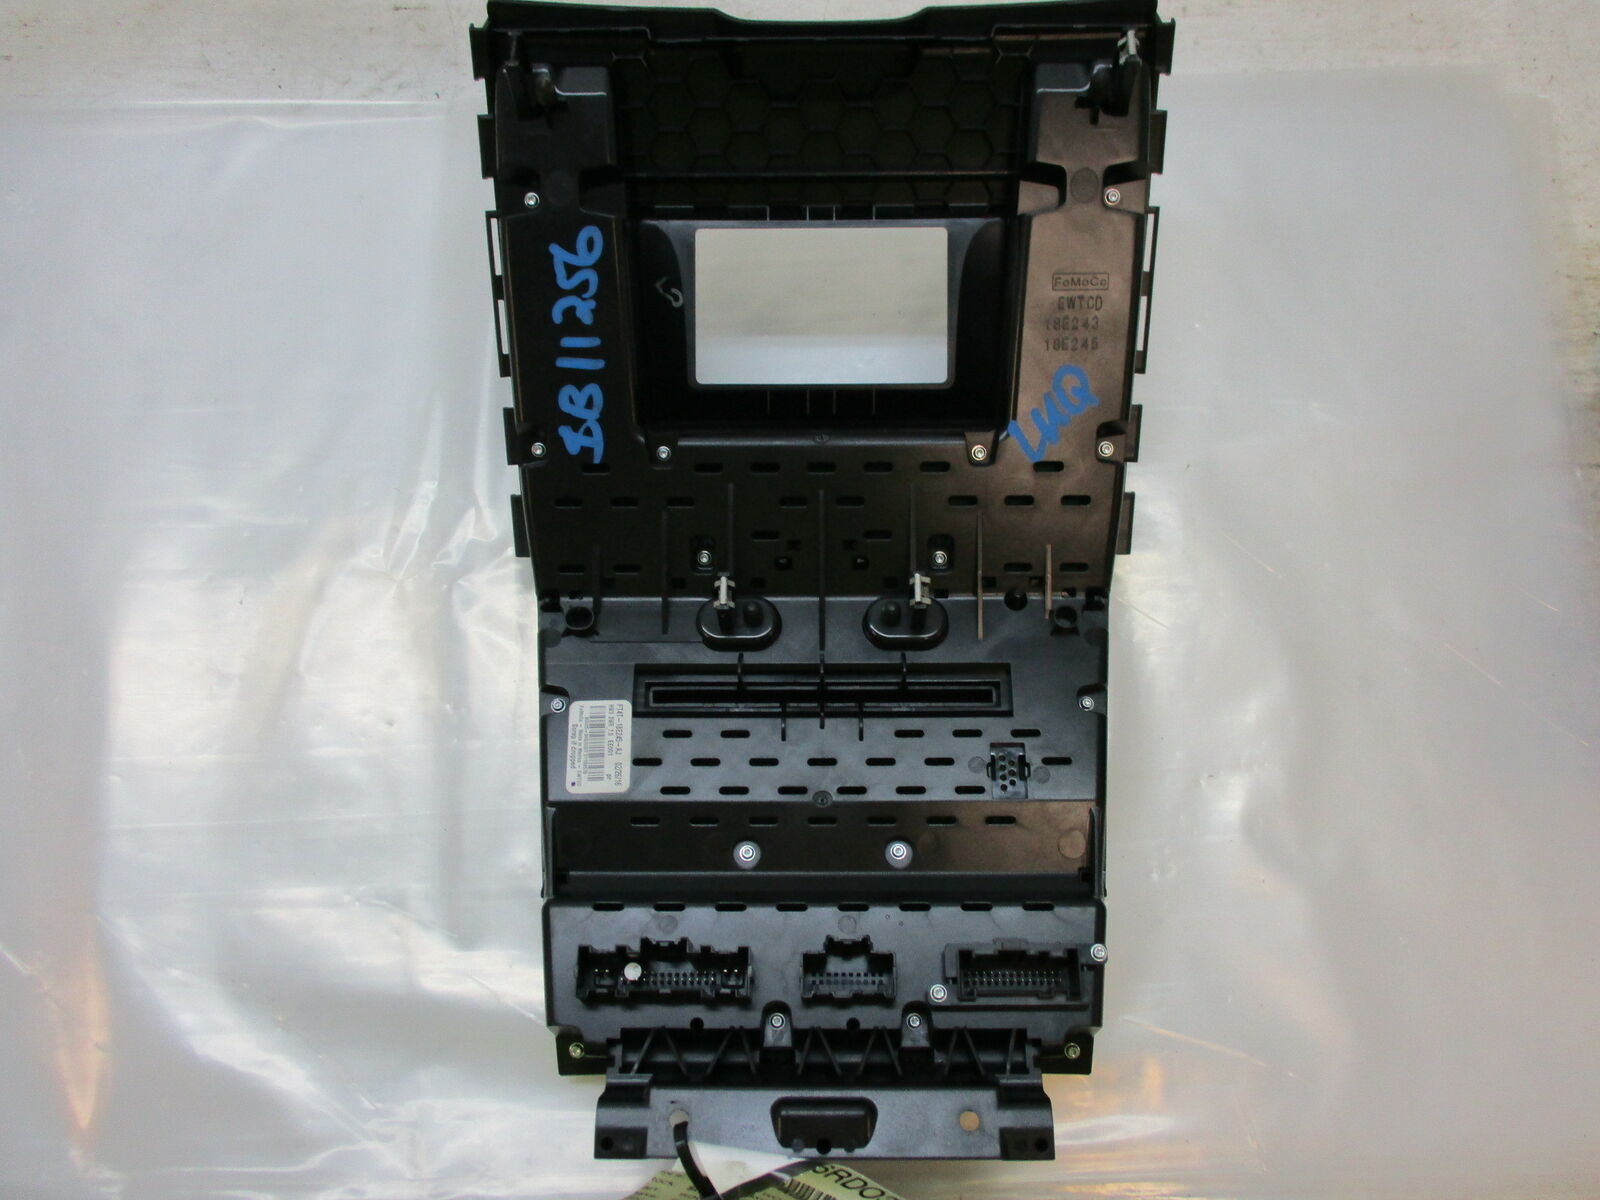
Use on the bottom piece of the board, put it behind the radio's back cover. Use the factory screw to secure the board and cover. There will be three ports on radio's cover as well.
After that, on the main harness, it comes with both male and female plugs on the same harness. Since the CD player is removed, only use the pin side or the female end to connect to the vehicle. Then after that, connect the other end to the radio.
On the factory AC board, both the male end and female end will be used.
Connect the 12 pin backup camera adapter to factory screen connector. There is a yellow RCA coming out of it. Connect the RCA to a yellow female RCA with tag "Camera" on a black rectangle connector, not the main power connector.
Brown rectangle connector: USB and Carplay/Android Auto
Yellow rectangle connector with white and red RCAs: Pre-amp output for aftermarket amplifier.
White rectangle connector: hazard control.
Reverse the removal steps to install the unit back.
For factory 8" SYNC 3 unit installation:
https://v.youku.com/v_show/id_XNDQyOTY1MzAwMA==.html
For factory 8" SYNC 2 unit installation:
https://m.youku.com/video/id_XNDQwNzA4Nzg4MA==.html?&source=
Comments
0 comments
Please sign in to leave a comment.