
Video from [Out of Line Garage] shows how to remove and install a 32G T-style android car stereo. This instruction is for your 64G T-style radio, the procedure is the same. Please also check out all of his other videos!
Tools
- Phillip screw driver
- Torx screw driver
- Dash Kit (provided in the package)
Step 1. Use any pry bar in the dash kit to remove a plastic piece underneath the OEM unit above AC control. You will expose two screws
Step 2. Use Phillip screw driver to remove those two screws, your radio should come loose. Slowly pull your OEM's unit outwards until it stops. Disconnect a small plug behind the panel and set the unit aside.
Step 3. Remove two screws holding the metal box. Unplug the harnesses behind it by pinching the retaining tab.Then remove four more screws on the screen.
Step 4. Take out your Vertical Screen unit and install the correct bottom piece with screw provided.
Step 5. Connect the harness as follows.
The color plugs may be combined into a single white connector with USB and RCAs.

Note:
- If you do not have backup camera, do not use buzzer.
- If AUX is not working, try connecting the female "aux in" to male "aux in" cables that is under the word "choose one" in the picture.
- On the black plug, "Video in" is for AUX video input. It can be seen in the AUX app on the screen.
- On the black plug, "S. Cam In" is for side camera.
- On the black plug, purple loose wire is for camera power, but it is not needed. Brown loose cable is for backup trigger and it is also not needed.

The connection at the unit side is shown below.

Connect all the matching connectors at the vehicle's end.
Step 6. Take off the vent from your original dash and put it on your new unit.
Step 7. Before putting your unit back in, turn on your vehicle to test out functions.
Step 8. After testing, put your unit back in.
For SONY amp that does not have sound issue:
Amplifier bypass is needed. Please refer to the pinouts at the back of the radio for speaker wires.
Then locate the factory amplifier or DSP, which is at the left side of cargo/luggage compartment. Use a harness like this one from Axxess:
https://axxessinterfaces.com/product/AX-AB-FD1
Connect the speaker wires from the radio to the Axxess harness.
Sony panel hazard light:
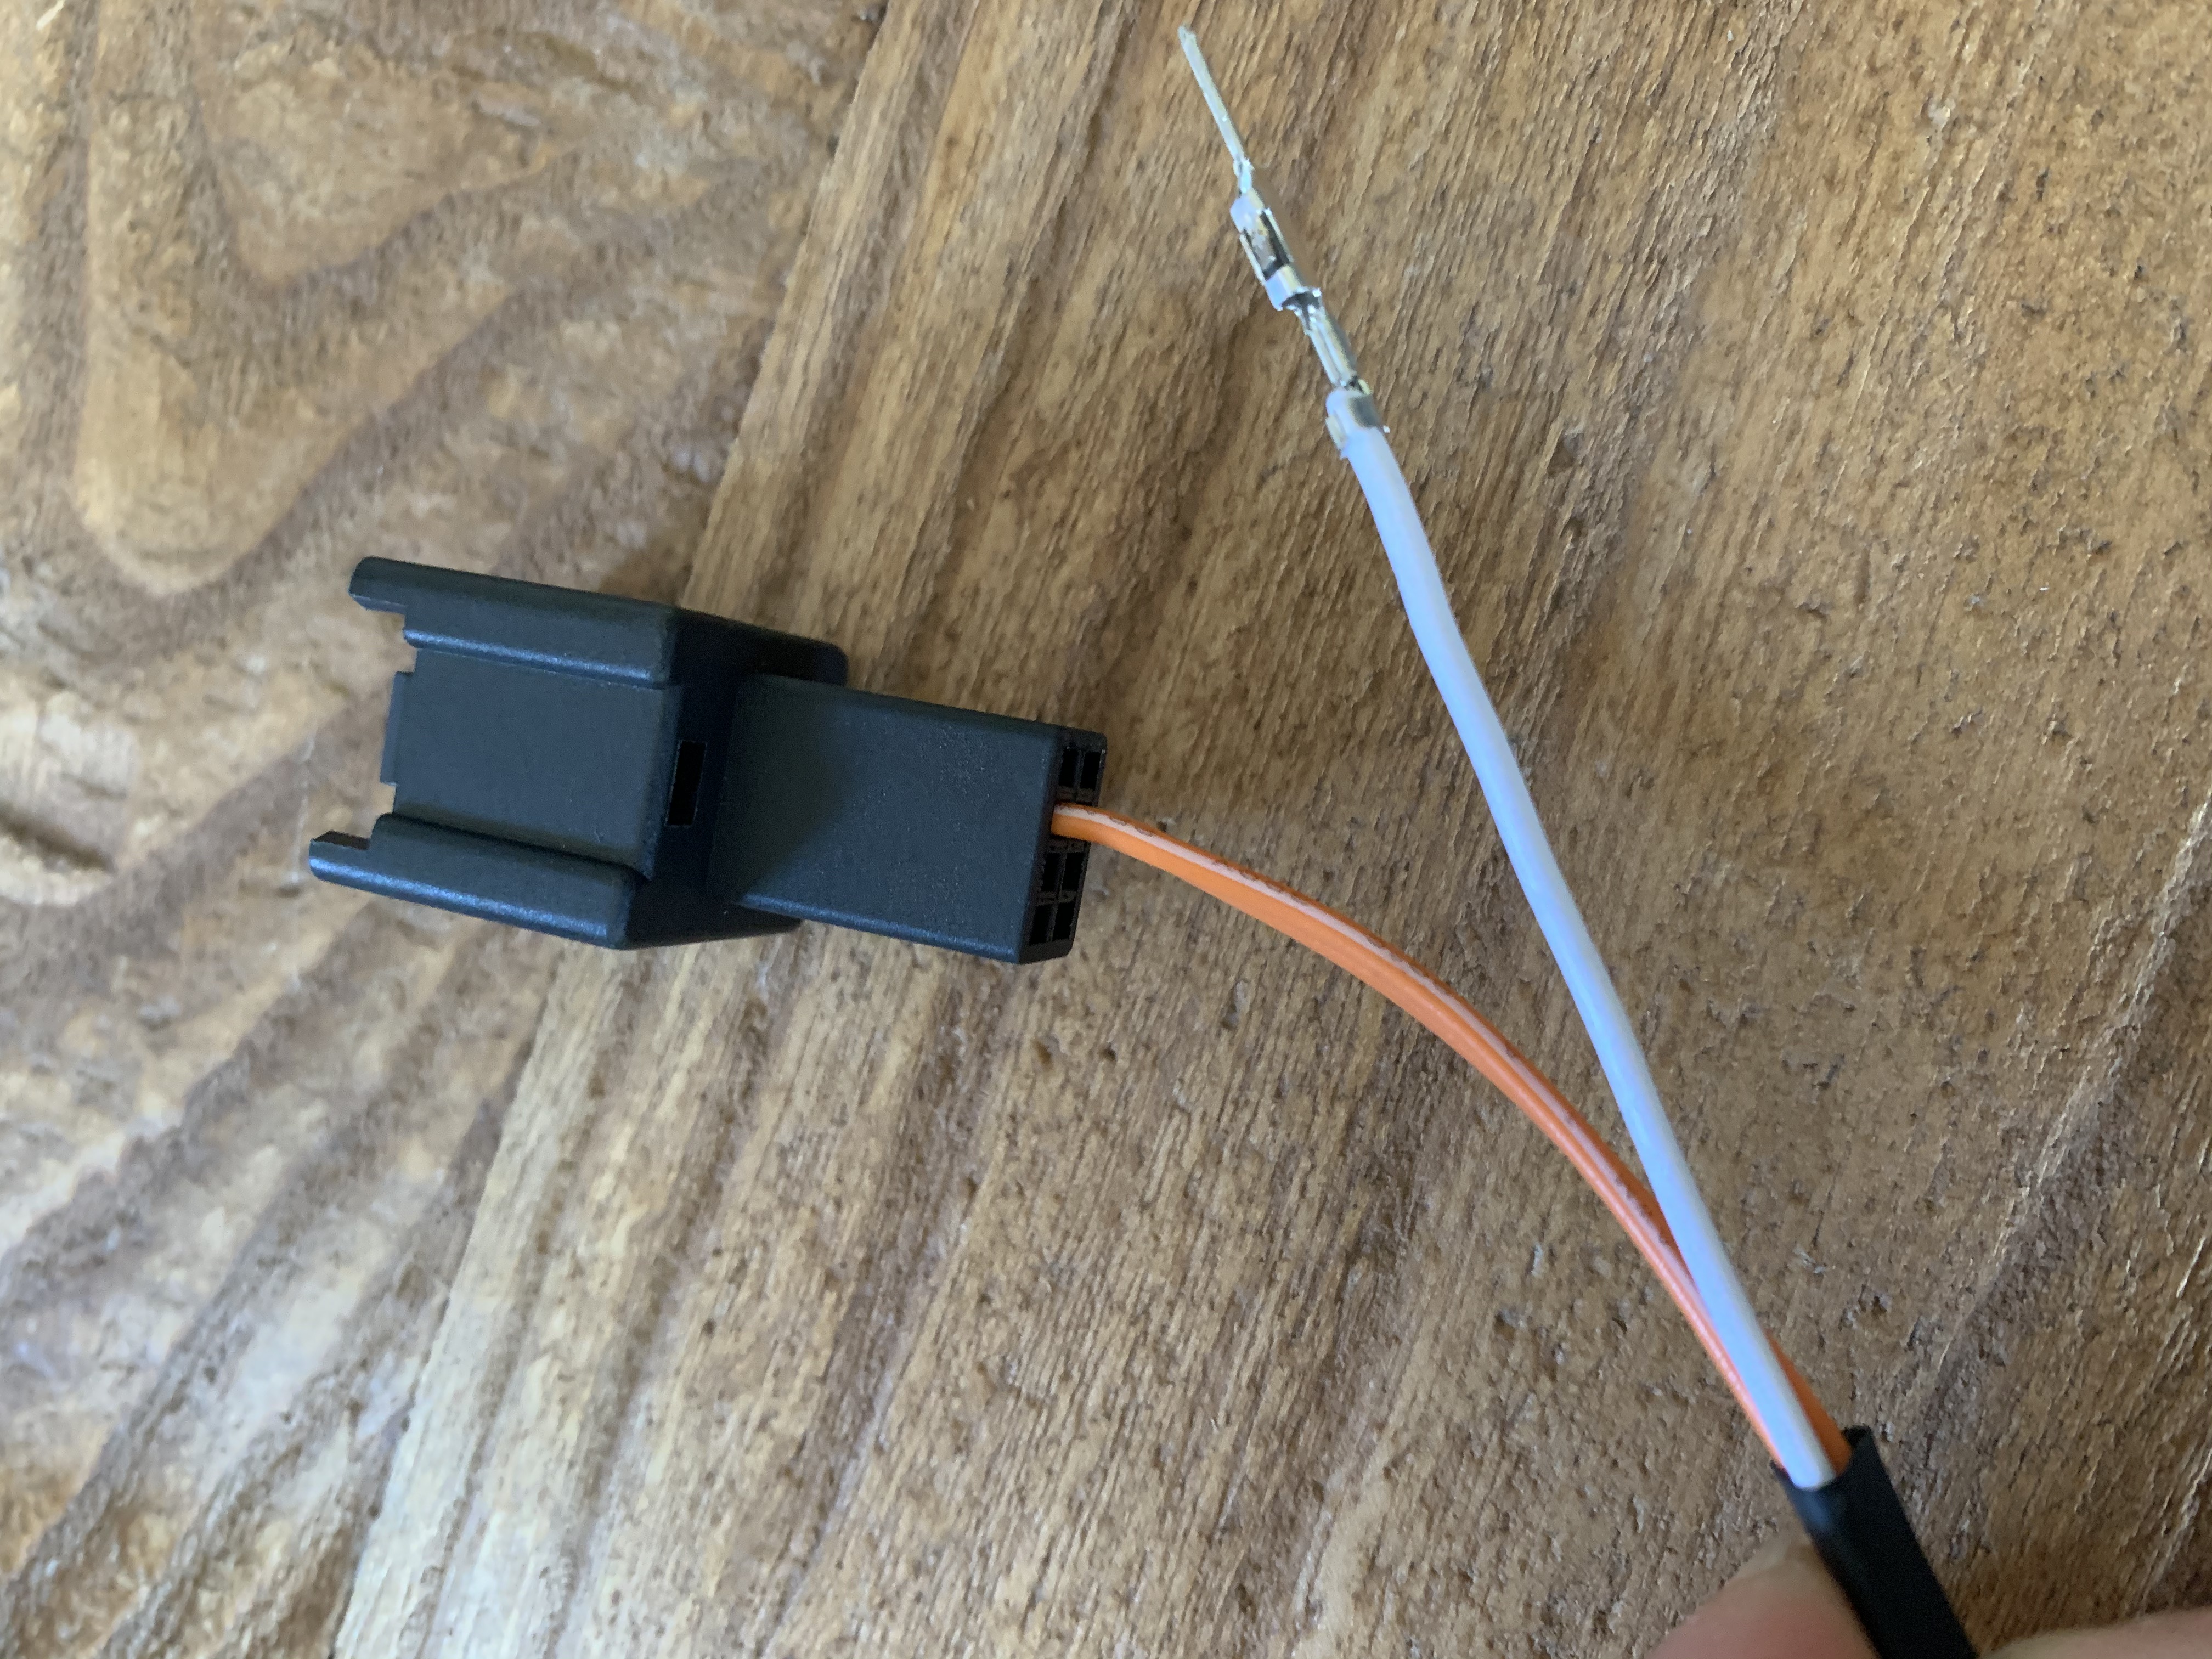
Locate #2 on this connector. It is a brown and yellow wire. Connect that wire to the white wire below on the new radio's harness. Then connect the orange wire on our connector to Pin 1 white - yellow wire on the factory connector.
SONY Steering Wheel control:
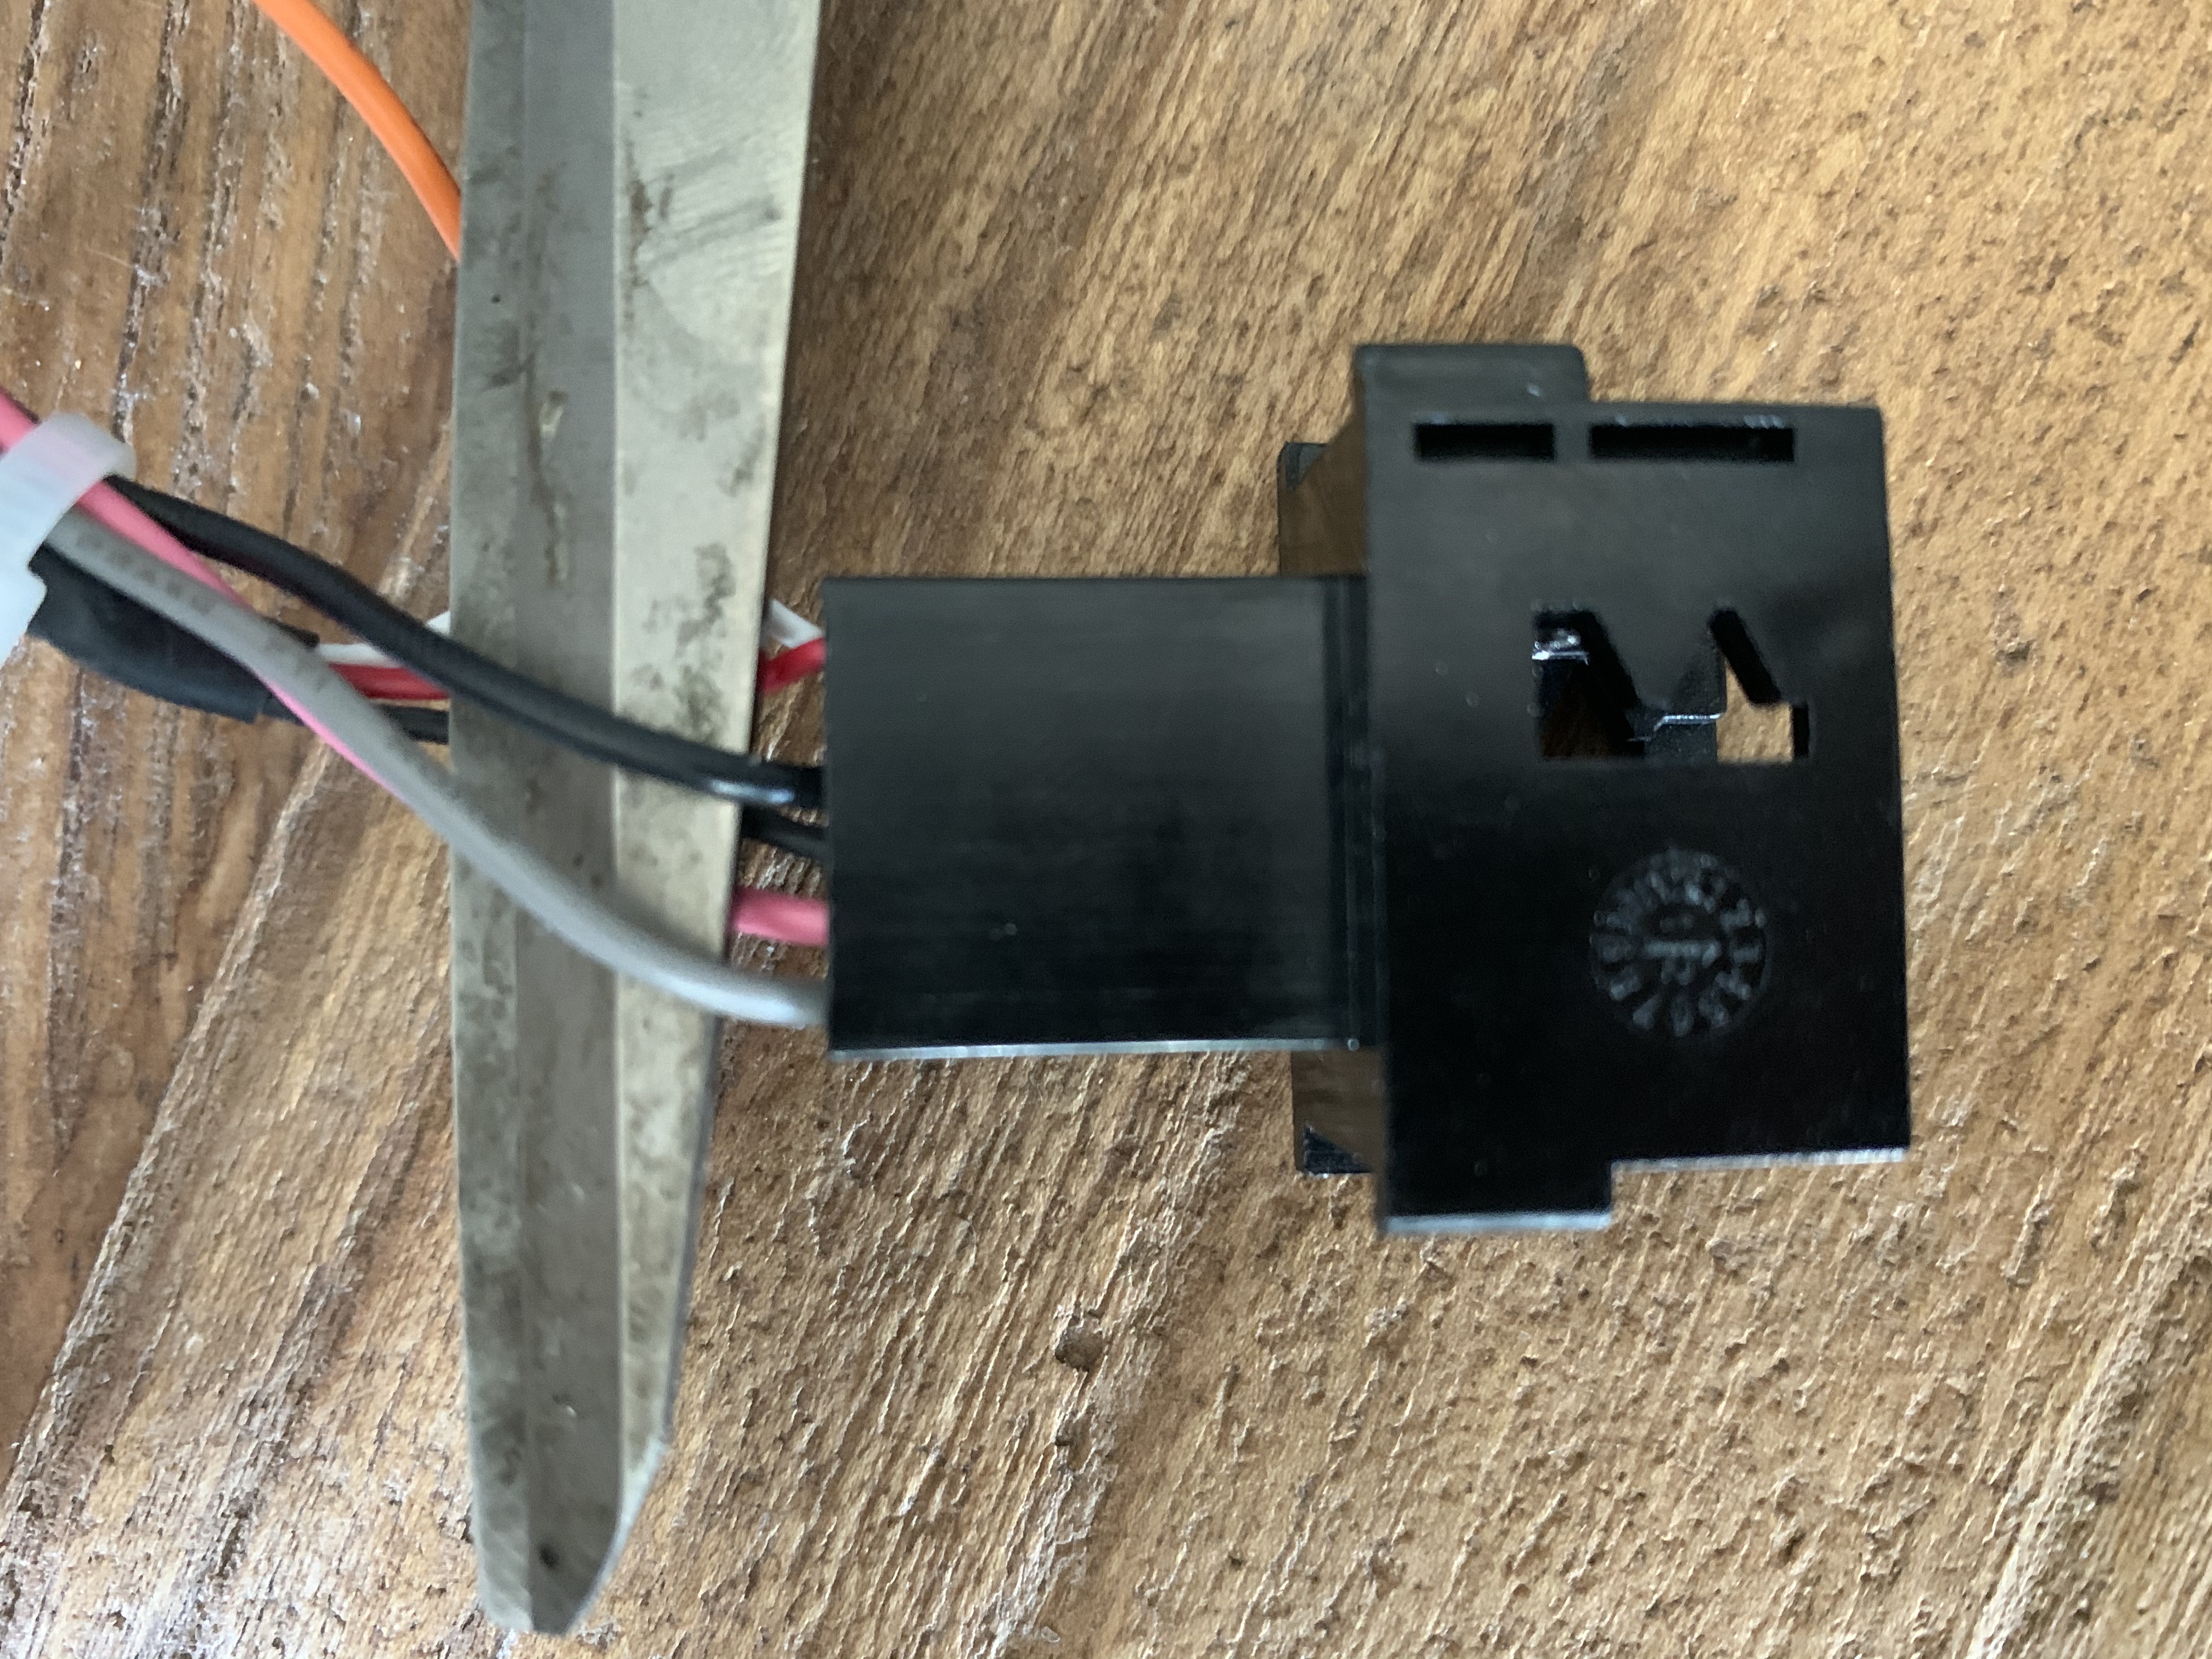
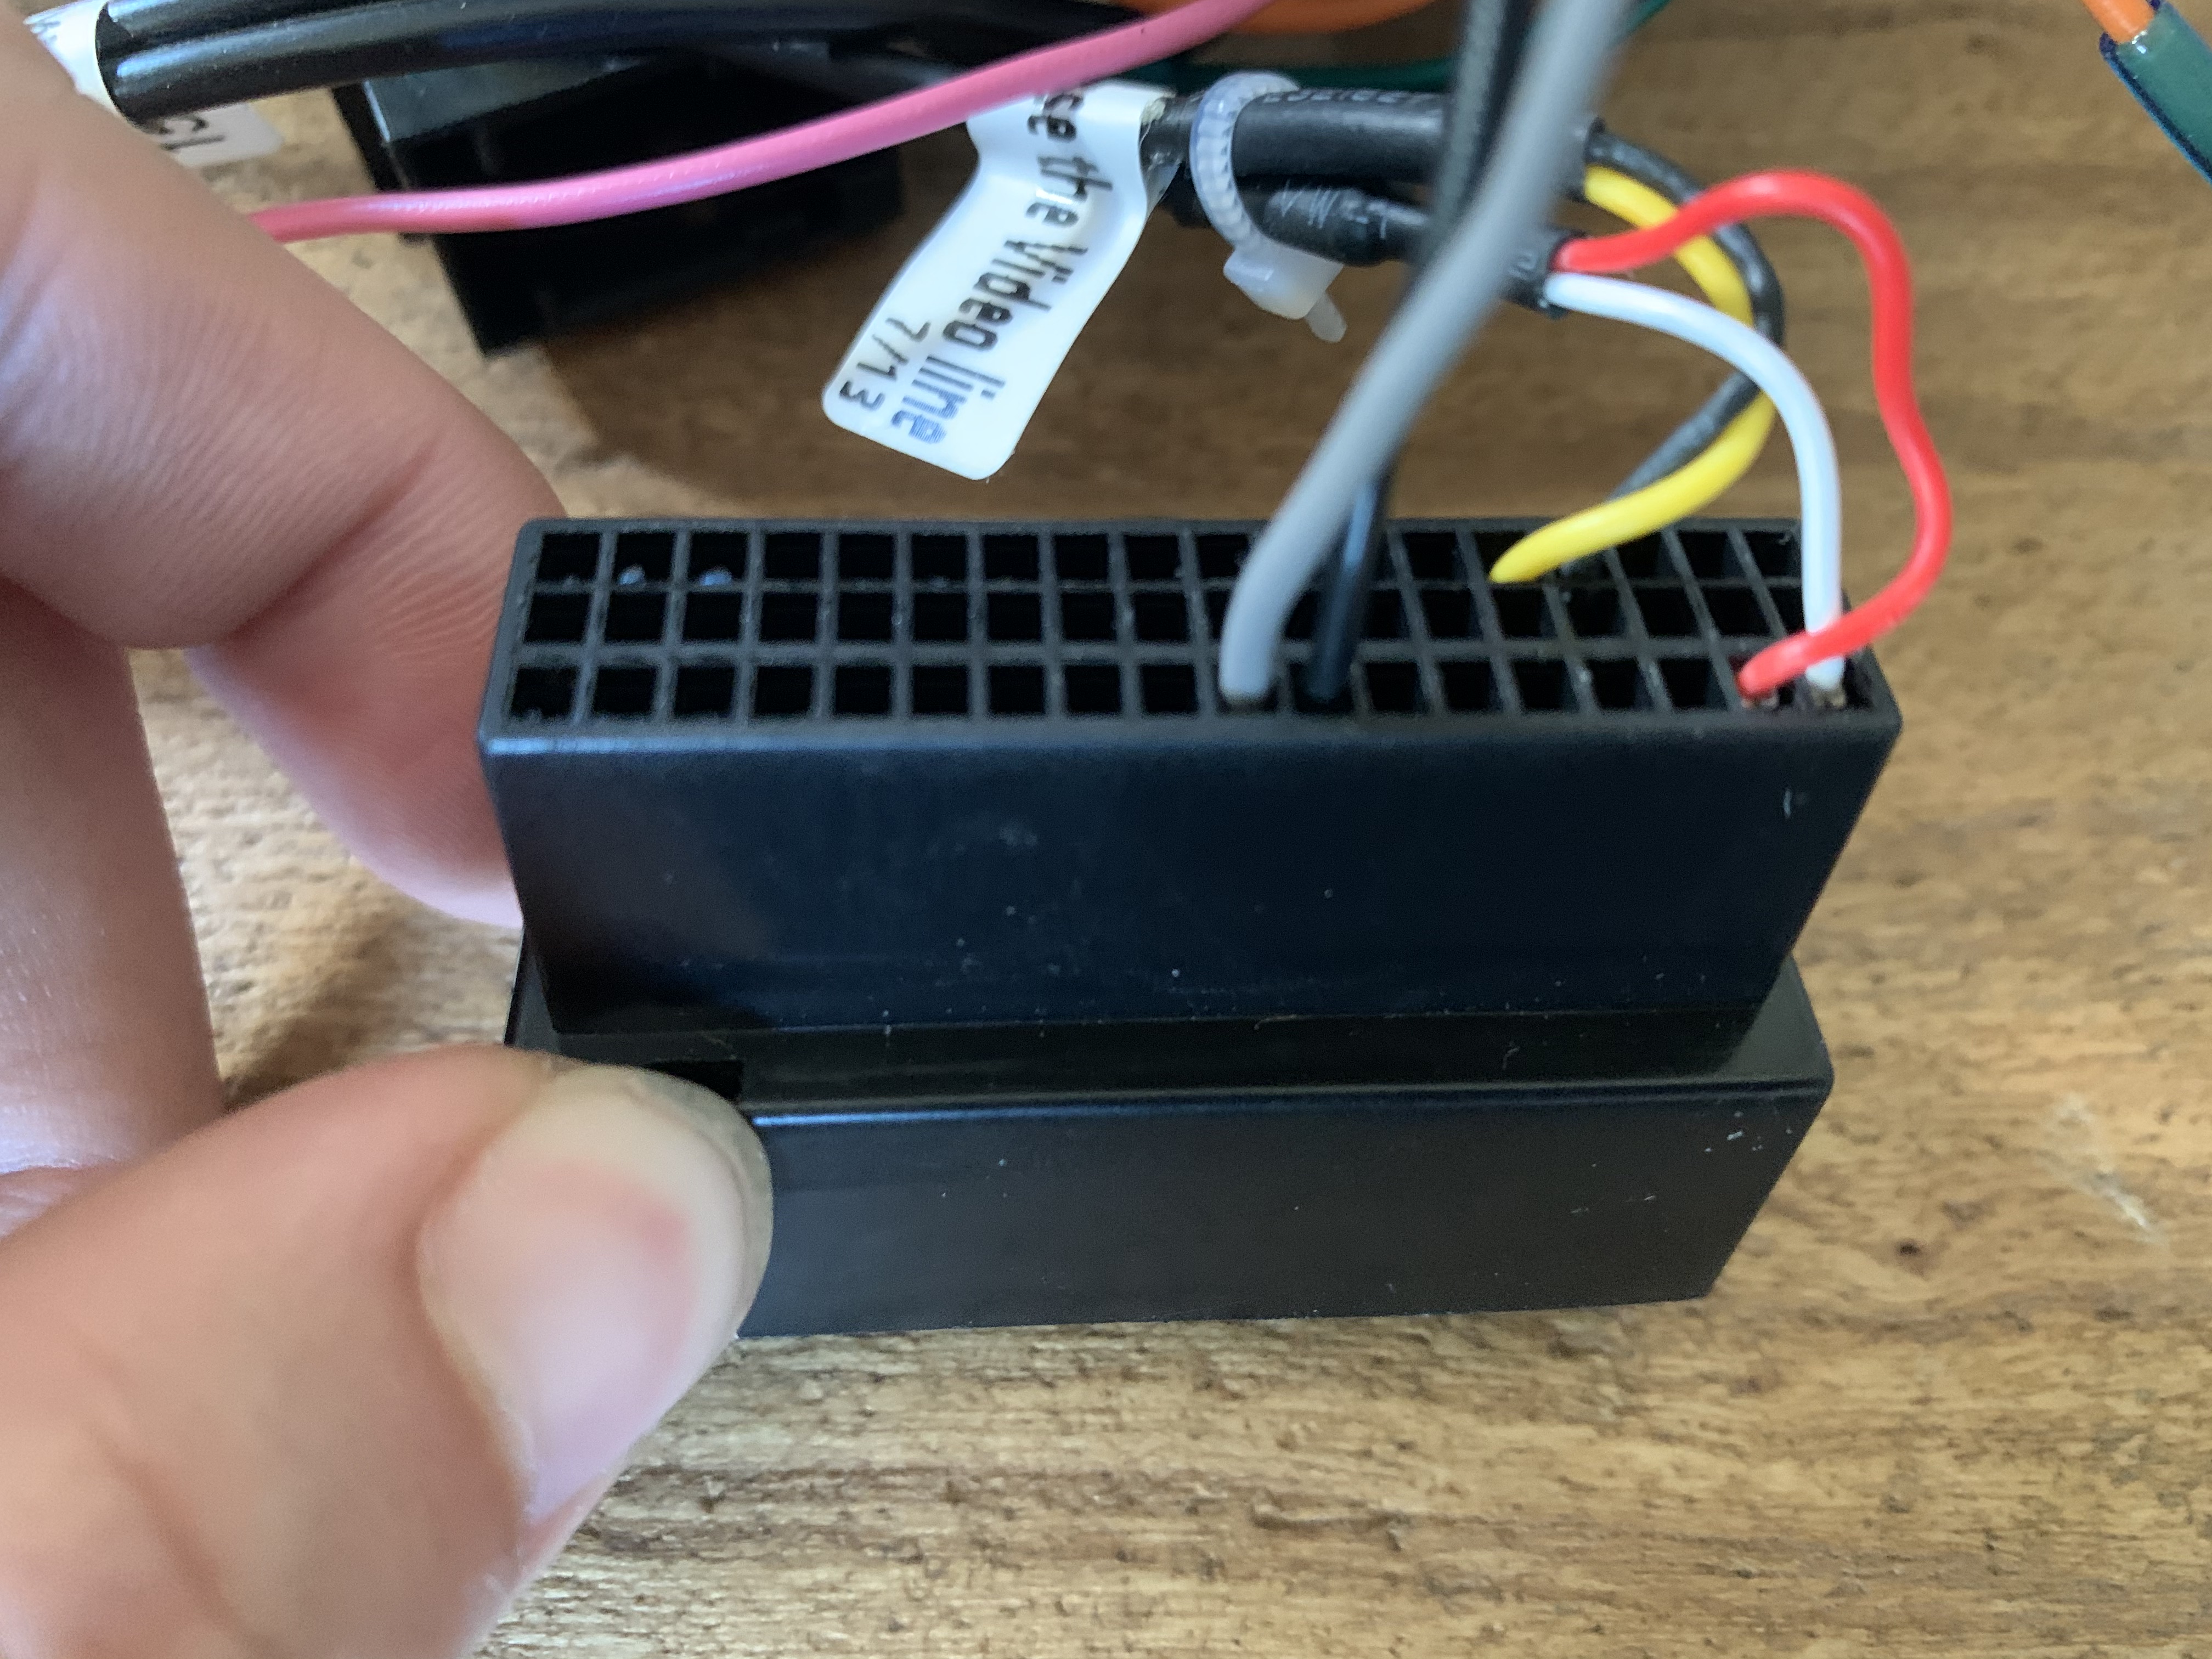
Remove the grey and black wire on this 12pin connector, put it on the larger connector:
Pair the steering wheel control on the setting - wheels setting page - set to "Low Z" - pair the controls.
Comments
0 comments
Please sign in to leave a comment.